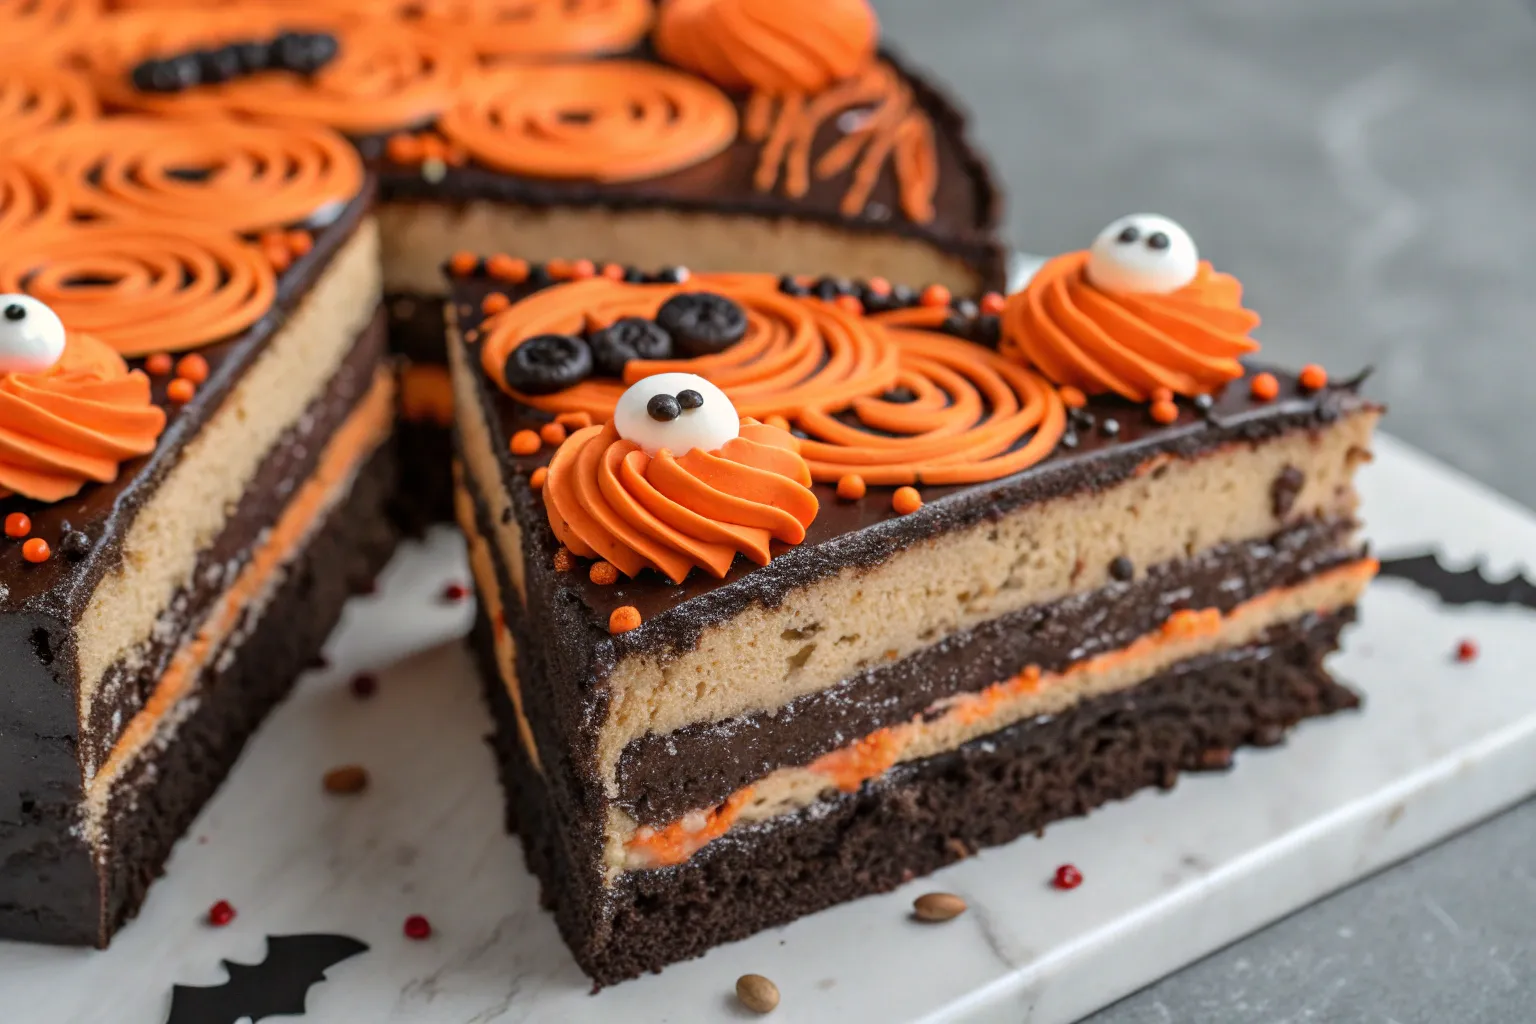
Spooky Halloween Icebox Cake
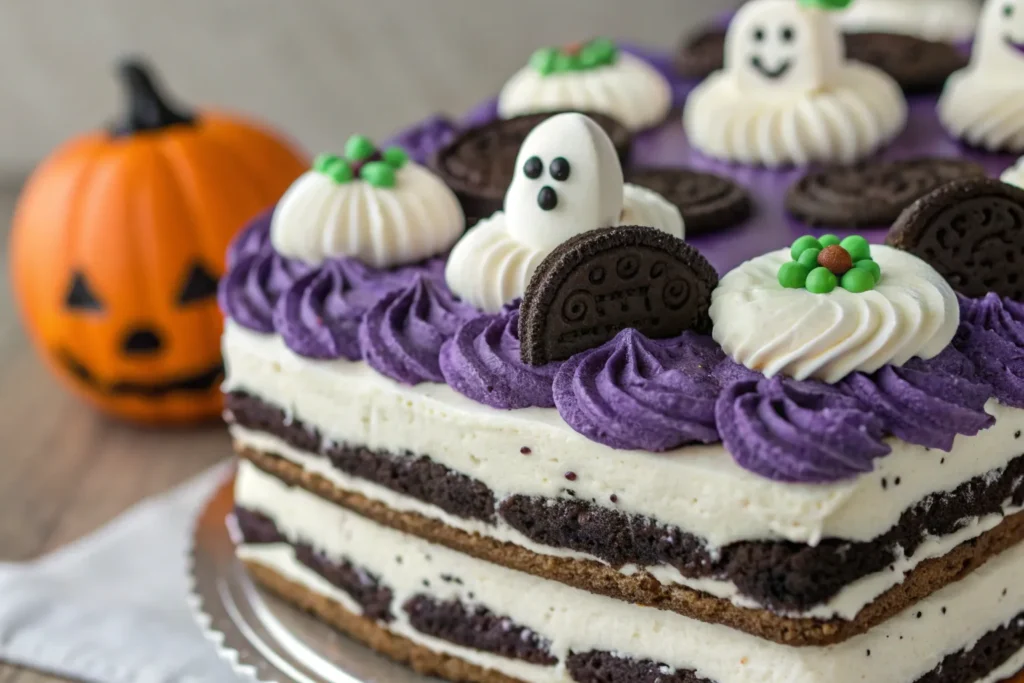
A Spooky Halloween Icebox Cake is the perfect no-bake dessert that brings eerie fun and creamy indulgence together in one chillingly delicious treat. Built with layers of cookies and fluffy whipped cream, this cake transforms into a sliceable dessert that resembles a creepy, festive masterpiece. With Halloween colors, spooky toppings, and playful textures, it’s a dessert that requires minimal effort but delivers maximum wow factor. Whether you’re hosting a haunted house party, a school event, or a cozy movie night, this easy icebox cake brings the perfect mix of fun and flavor to the table.
Why You’ll Love This Recipe
You’ll love this recipe because it embraces all the magic of Halloween without any stress. It’s completely no-bake, making it ideal for kids, busy hosts, or last-minute party planners. The layers soften into a creamy, almost cake-like texture overnight, creating a dessert that tastes as decadent as it looks spooky. It’s highly customizable—decorate it with gummy worms, candy eyes, sprinkles, or crushed cookies to match your Halloween theme. Plus, the vibrant colors make every slice a festive surprise.
Nutritional Info
An icebox cake is rich but simple, made primarily from cookies, whipped cream, and flavor add-ins. Using light whipped topping, reduced-sugar cookies, or fresh fruit can make it a little lighter if desired. However, it remains a celebratory treat best enjoyed in festive moderation. Each serving provides carbs for energy, dairy-based cream for richness, and small amounts of calcium.
Time Taken
This Halloween icebox cake takes about 15–20 minutes to assemble but needs at least 4 hours to chill, preferably overnight. The hands-on time is minimal, making it perfect for party prep or early-morning assembly before an evening event.
Ingredients
- Chocolate wafer cookies or Oreo thins
- Whipped cream or whipped topping
- Orange food coloring
- Black food coloring or cocoa powder
- Vanilla extract
- Powdered sugar (optional for sweetness)
- Halloween candy eyes
- Gummy worms or gummy spiders
- Halloween sprinkles
- Crushed chocolate cookies for “dirt”
Instructions

Begin by dividing the whipped cream into two bowls and tinting one orange and the other black. Add vanilla and powdered sugar to taste. Spread a thin layer of colored whipped cream in a dish as the base, then layer cookies and more whipped cream, alternating colors for a striped Halloween effect. Continue layering until the dish is full. Top with crushed cookies to create a spooky “graveyard dirt” look, then add candy eyes, gummy worms, spiders, and Halloween sprinkles. Cover and refrigerate until the cookies soften and the cake sets. Slice and serve chilled for the best texture.
You Must Know
The key to a perfect icebox cake is giving it enough time to chill so the cookies soften into a tender, cake-like consistency. Using thinner cookies speeds up the softening process. Avoid overmixing the whipped cream once the food coloring is added, as it can deflate. The longer it chills, the cleaner the final slices will look.
Storage Tips
Store the cake in the refrigerator, covered, for up to 3–4 days. The cookies will continue to soften over time, making the texture even creamier. Freezing is possible, but the decorations may lose their appearance once thawed. If freezing, add the toppings afterward.
Ingredient Substitutions
- Use graham crackers instead of cookies for a lighter texture.
- Swap whipped topping for homemade stabilized whipped cream.
- Use natural food coloring for a dye-free version.
- Add layers of pudding or cream cheese filling for a richer dessert.
Serving Suggestions
Serve chilled with a drizzle of chocolate syrup or a side of berry compote to enhance the spooky theme. Present it in a glass dish to showcase the Halloween layers or make mini versions in cups for individual servings. It’s perfect for Halloween parties, potlucks, classroom events, or as a fun dessert after pumpkin carving.
Cultural and Historical Context
Icebox cakes date back to the early 20th century when refrigerators—known as “iceboxes”—became household staples. They were celebrated as modern, easy desserts that required no baking. The Halloween version is a fun, modern twist on this vintage concept, transforming a classic family dessert into a festive treat that aligns with contemporary holiday creativity.
Seasonal Adaptations
For fall flavors, add cinnamon, pumpkin spice, or caramel drizzle between the layers. For winter holidays, swap the colors for red and green. In summer, use fresh berries and lemon whipped cream for a refreshing version. This base recipe adapts beautifully for any season or event.
Success Stories
This dessert is a hit at parties because it’s simple, stunning, and universally loved. Parents love how quickly it comes together, kids love how interactive and decorative it is, and guests enjoy how light yet satisfying each slice feels. It often becomes a yearly Halloween tradition for families who try it once.
Pro Tips
- Chill the mixing bowl to help the whipped cream stay firm.
- Use a long offset spatula for smooth layers.
- Add decorations just before serving if they may soften in the fridge.
Chef’s Special Tips
Mix a bit of cocoa powder into the black cream to intensify the flavor and color. Add a ribbon of strawberry jam for a “bloody” effect. For ultra-clean layers, freeze the partially layered cake for 10 minutes before adding the next layer.
Conclusion
This Spooky Halloween Icebox Cake is a no-bake, crowd-pleasing dessert that blends fun, flavor, and festive charm effortlessly. With its colorful layers, playful decorations, and creamy, cake-like texture, it’s guaranteed to steal the spotlight at any Halloween gathering. Give it a try this year and watch everyone return for seconds.
Frequently Asked Questions
Can I make this icebox cake ahead of time?
Yes, it’s best made a day ahead so the layers fully set.
Do the cookies get soggy?
They soften into a cake-like texture, which is exactly what makes icebox cake delicious.
Can I use homemade whipped cream?
Yes, but stabilized whipped cream works best for clean layers.
What size dish should I use?
An 8×8 or 9×9 dish works well, but you can use any size and adjust the layers.
Can kids help make this?
Absolutely, this is a perfect kid-friendly, no-bake recipe.
Can I make this gluten-free?
Yes, simply use gluten-free cookies and check your toppings.
Printable Recipe Card
Want just the essential recipe details without scrolling through the article? Get our printable recipe card with just the ingredients and instructions.