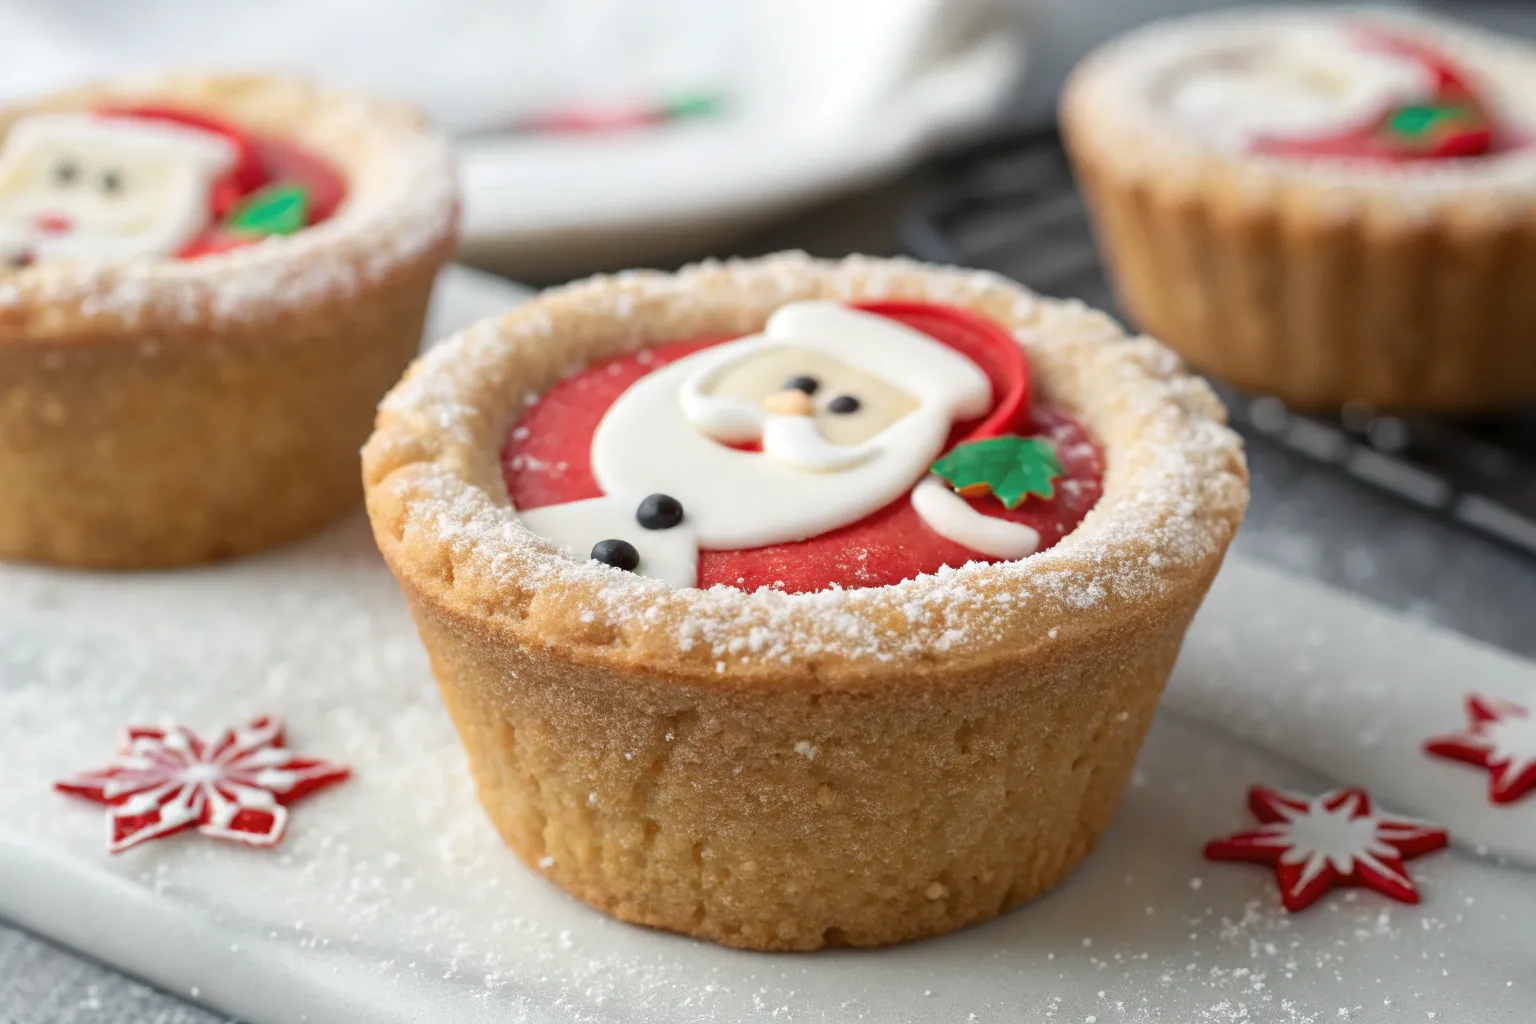
Santa Cookie Cups – A Fun & Festive Christmas Treat
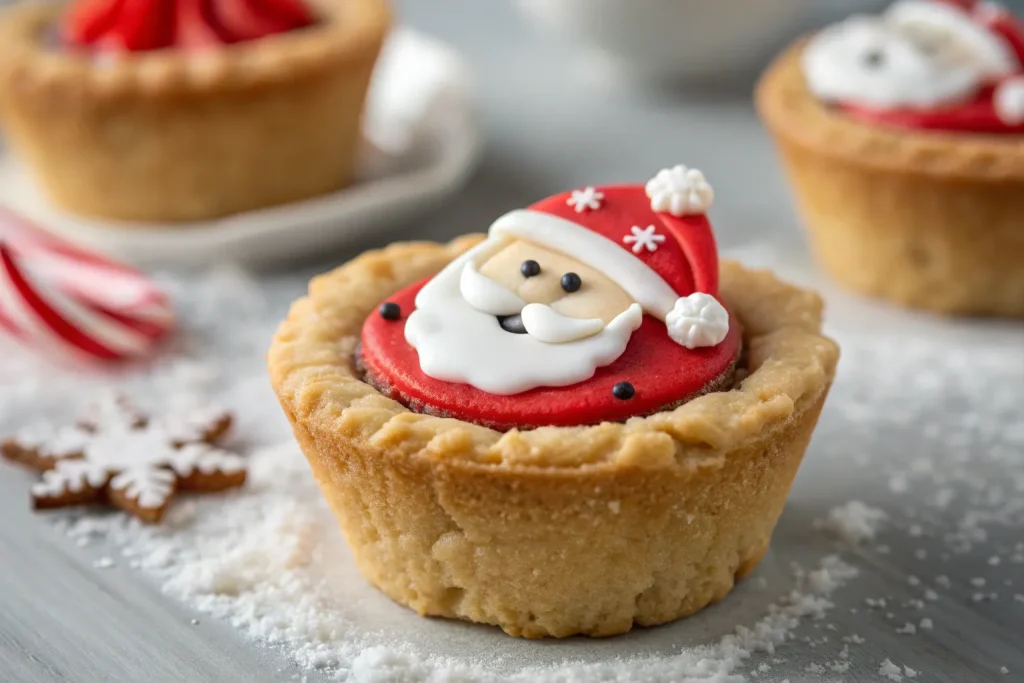
The holiday season is all about joy, family, and of course, delicious treats! If you’re looking for a recipe that’s not only festive but also fun to make with kids, these Santa Cookie Cups are the ultimate holiday dessert. Made with soft cookie dough cups, filled with creamy frosting, and topped with strawberries to look like Santa hats, these bite-sized goodies are as cute as they are delicious. Whether you’re hosting a Christmas party, planning a cookie exchange, or simply looking for a way to spread holiday cheer, these Santa Cookie Cups are guaranteed to impress.
Why You’ll Love This Recipe
Santa Cookie Cups aren’t just adorable they’re practical too! Here’s why you’ll want to bake a batch this season:
- Festive & fun – They look like mini Santa hats, making them perfect for holiday gatherings.
- Quick & easy – Minimal ingredients and steps, ready in under 30 minutes.
- Kid-friendly – Little hands can help assemble and decorate.
- Perfect for gifting – Pack them in holiday tins or trays for a thoughtful homemade treat.
Grocery List 🛒
Here’s everything you’ll need to grab from the store to make Santa Cookie Cups:
- Cookie Base
- 1 tube refrigerated sugar cookie dough (or homemade dough)
- Nonstick cooking spray or muffin liners
- Filling & Topping
- 1 cup whipped cream or vanilla frosting
- 12–15 fresh strawberries (tops trimmed)
- Mini marshmallows or white sprinkles (optional for “pom-pom”)
- Powdered sugar (for dusting)
Ingredients (for about 12 cups)
- 1 tube sugar cookie dough (16 oz)
- 1 cup whipped cream or vanilla buttercream
- 12 fresh strawberries
- Mini marshmallows (optional)
- Powdered sugar for dusting
Step-by-Step Instructions
1. Prepare the Cookie Cups
Preheat the oven to 350°F (175°C). Grease a mini muffin tin with nonstick spray. Scoop a tablespoon of cookie dough into each cup, pressing gently to form a base.
2. Bake
Bake for 10–12 minutes, until golden brown. As soon as you remove them, use the back of a spoon to press down the centers to create little “cups.” Let cool completely.
3. Fill with Frosting
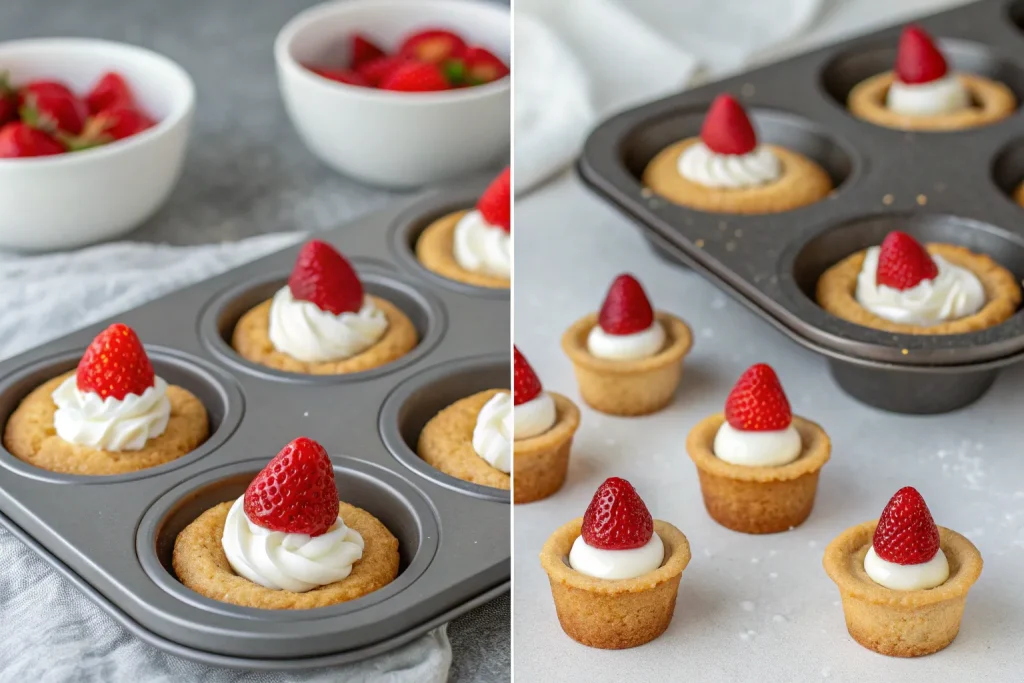
Pipe or spoon whipped cream (or frosting) into each cooled cookie cup.
4. Add Santa Hats
Place a trimmed strawberry on top of each cookie cup, pointy side up. Add a small dollop of cream (or a mini marshmallow) to the tip of the strawberry to complete the Santa hat.
5. Finish & Serve
Dust lightly with powdered sugar for a snowy effect. Serve immediately and watch them disappear!
Tips for Perfect Santa Cookie Cups
- Chill your cookie dough before baking for cups that hold their shape.
- Use firm, fresh strawberries for the best “Santa hat” look.
- If using frosting, buttercream works better than whipped cream for longer shelf life.
- Store in the fridge if not serving immediately, especially when using whipped cream.
How to Serve
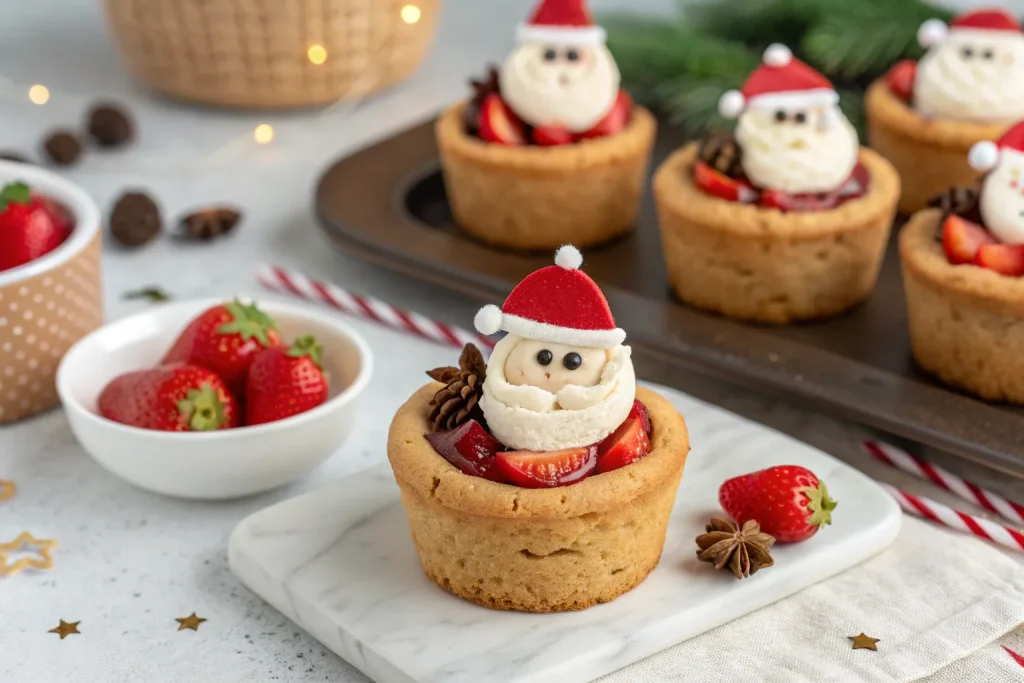
Santa Cookie Cups make the ultimate Christmas dessert table centerpiece. Serve them at parties, pack them in treat boxes for neighbors, or bring them to holiday potlucks. They’re a guaranteed hit with both kids and adults.
Storage & Make-Ahead Tips
- Store in the refrigerator for up to 2 days.
- Best enjoyed fresh to keep the cookie base from softening.
- Assemble just before serving if using whipped cream.
Nutritional Information (per cookie cup, approx.)
- Calories: 160
- Carbohydrates: 21g
- Protein: 2g
- Fat: 8g
- Saturated Fat: 4g
- Fiber: 1g
- Sugar: 14g
(Values vary depending on dough and frosting used.)
Conclusion
Festive, easy, and irresistibly cute, Santa Cookie Cups are a must-bake treat this Christmas season. They’re the perfect blend of fun and flavor, guaranteed to bring holiday cheer to your kitchen. So grab your cookie dough, frosting, and strawberries and let Santa’s sweetest helpers shine on your dessert table!
FAQs
Printable Recipe Card
Want just the essential recipe details without scrolling through the article? Get our printable recipe card with just the ingredients and instructions.