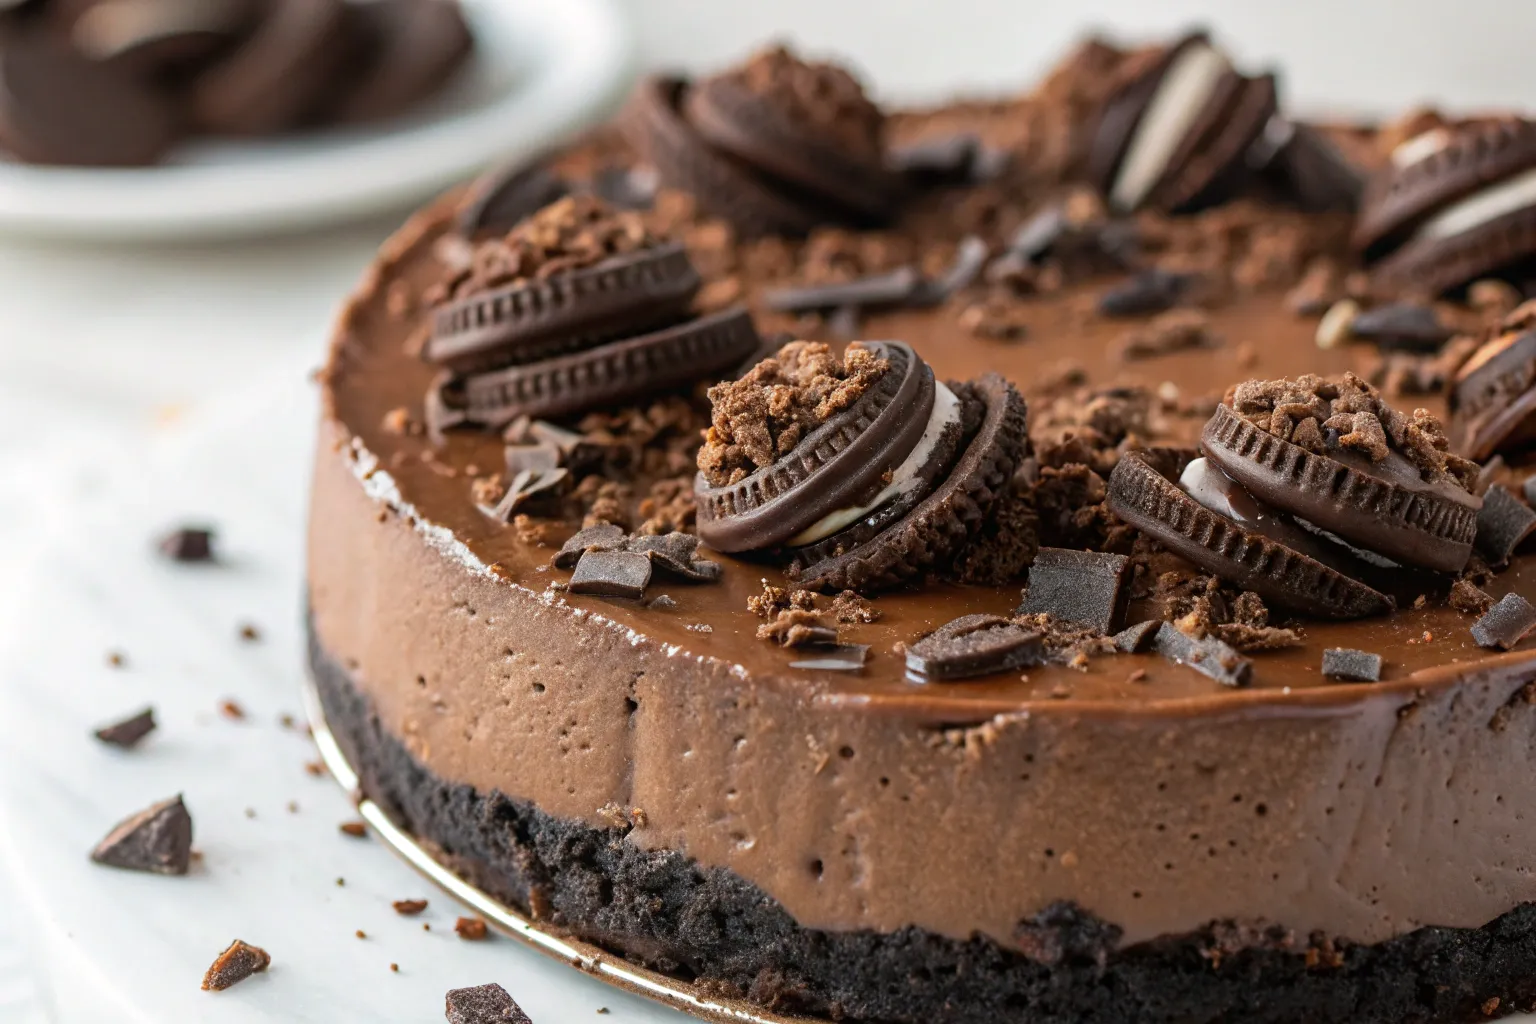
Oreo Mud Pie Dessert
Oreo Mud Pie Dessert is a decadent, creamy, no-bake dessert that’s as easy to make as it is to devour. Featuring a crunchy Oreo cookie crust, a rich chocolate pudding layer, creamy whipped topping, and extra cookie crumbles on top, it’s the ultimate crowd-pleaser. Whether you’re hosting a party or just craving something indulgent, this dessert will satisfy every chocolate lover.
Why You’ll Love This Recipe
This dessert is a chocolate lover’s dream come true. It’s layered, creamy, crunchy, and perfectly sweet. Plus, it’s no-bake, which means no oven time, no fuss, and minimal cleanup. It’s also ideal for making ahead, so you can focus on enjoying time with friends and family instead of stressing in the kitchen.
Time Breakdown
When you’re short on time, this recipe delivers big results with minimal effort. The hands-on prep is quick, taking just 20 minutes, and the rest of the time is simply letting it chill in the fridge. That chill time is key for perfect, sliceable layers that hold together beautifully when served.
- Prep Time: 20 minutes
- Chill Time: 2 hours
- Total Time: ~2 hours 20 minutes
🧾 Ingredients You’ll Need
The ingredient list for Oreo Mud Pie Dessert is simple and pantry-friendly. You’ll need Oreo cookies for the crust, cream cheese for the cheesecake-like layer, chocolate pudding for that rich, silky middle, and plenty of whipped topping to make it light and fluffy. A few crushed cookies on top add the perfect crunch.
- 36 Oreo cookies, crushed
- 1/2 cup melted butter
- 2 packages (3.9 oz each) instant chocolate pudding mix
- 3 1/2 cups cold milk
- 8 oz cream cheese, softened
- 1 cup powdered sugar
- 16 oz whipped topping (Cool Whip or homemade)
- Extra crushed Oreos or chocolate shavings for garnish
Condensed Grocery Checklist
Don’t have time for a long shopping list? Here’s what you need at a glance: cookies, butter, pudding mix, milk, cream cheese, powdered sugar, and whipped topping. That’s it, just seven ingredients for dessert perfection.
- Oreo cookies
- Butter
- Instant chocolate pudding mix
- Milk
- Cream cheese
- Powdered sugar
- Whipped topping
How to Make – Step by Step
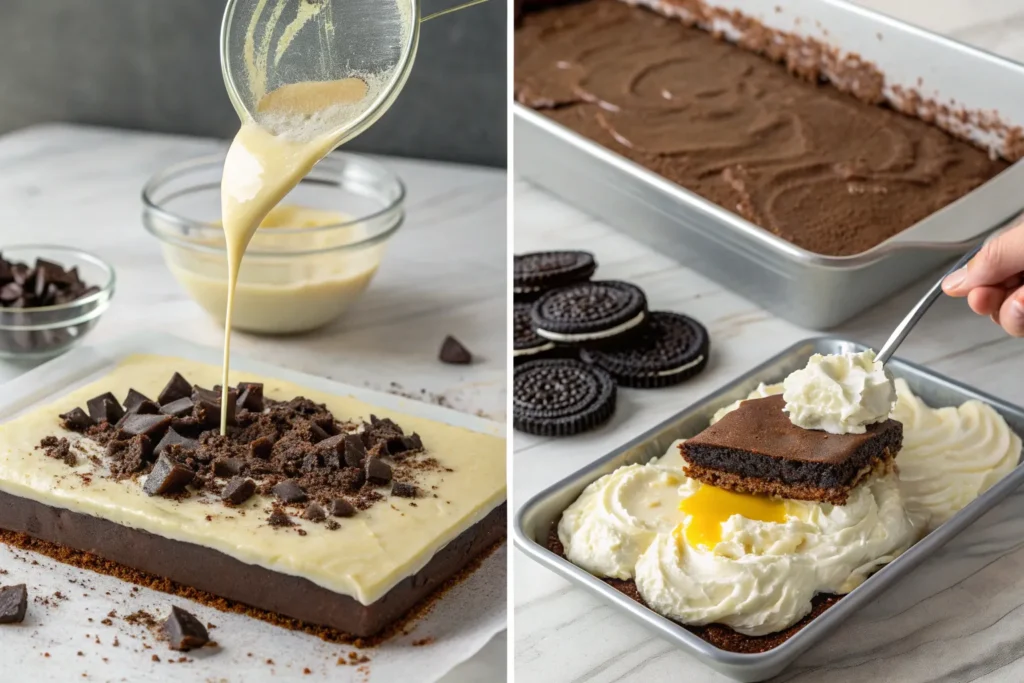
Making this dessert is as easy as layering your favorite ingredients. Start with a buttery cookie crust, add the cream cheese layer, spread the pudding, and top with whipped cream. The hardest part is waiting for it to chill, but trust me, it’s worth it when you get that perfect first bite.
- Prepare the Crust: Mix crushed Oreos with melted butter. Press firmly into the bottom of a 9×13-inch pan and chill.
- Make Cream Cheese Layer: Beat cream cheese with powdered sugar until smooth. Fold in half of the whipped topping and spread over the crust.
- Chocolate Pudding Layer: Whisk pudding mix with milk until thickened, then spread over the cream cheese layer.
- Top & Chill: Spread remaining whipped topping over pudding, garnish with more crushed Oreos, and refrigerate for at least 2 hours before serving.
Ingredient Swaps & Variations
This recipe is easy to customize based on what you love. Try a Golden Oreo crust for a lighter version, mix peanut butter into the cream cheese layer, or swap the chocolate pudding for white chocolate or even cheesecake pudding for a fun twist.
- Different Pudding: Try vanilla, white chocolate, or peanut butter pudding for a fun twist.
- Crust Options: Use Golden Oreos or graham crackers for a different flavor profile.
- Extra Indulgence: Drizzle with caramel or hot fudge before serving.
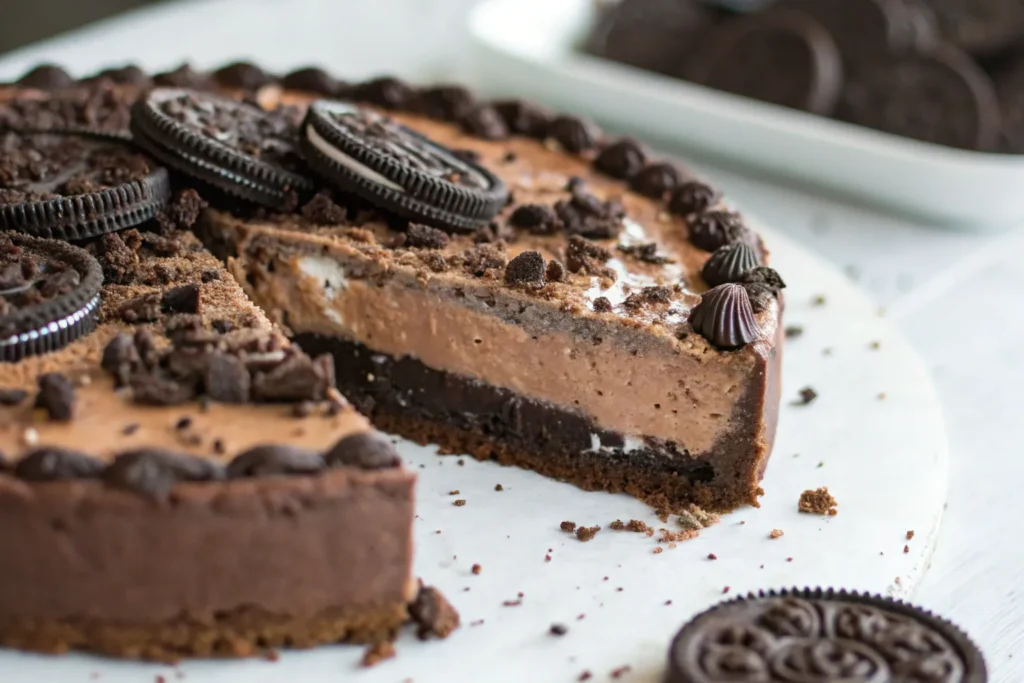
Serving Suggestions
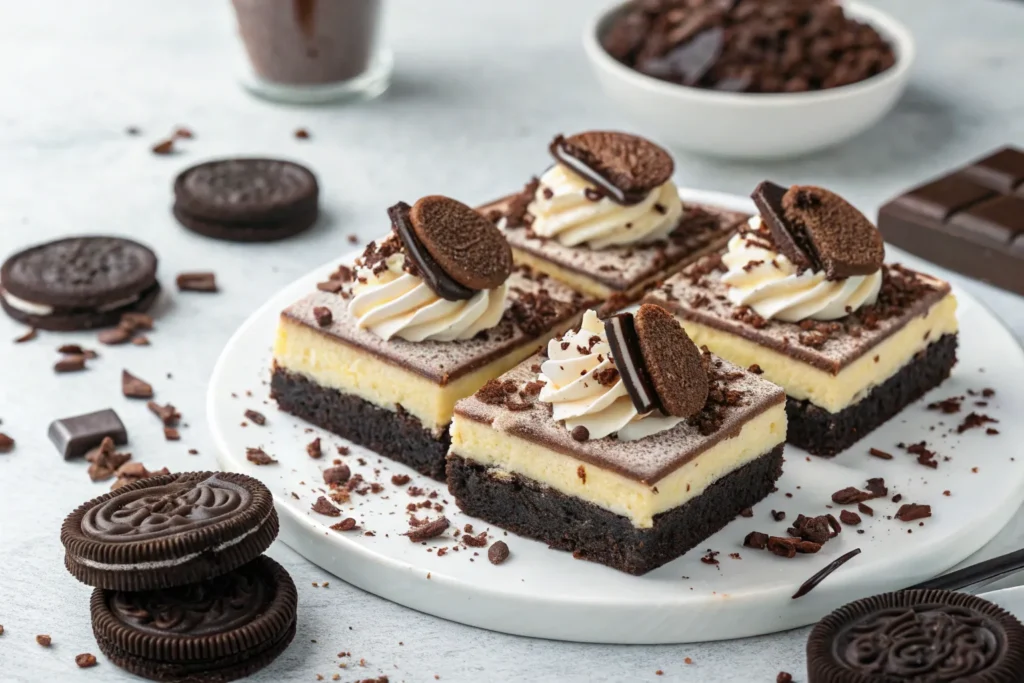
Serve chilled, sliced into squares, with extra Oreos sprinkled on top for crunch. You can also dress it up with chocolate curls, whipped cream swirls, or a dusting of cocoa powder for a fancier look, perfect for parties, BBQs, or potlucks.
Storing Tips
The best part about this recipe is how well it stores. Keep it covered in the fridge, and it will stay fresh for several days, in fact, the flavors get even better as it chills. You can even freeze it for a future treat, just thaw overnight in the fridge before serving.
- Refrigerate: Store covered in the refrigerator for up to 4 days.
- Make Ahead: This dessert is even better the next day as the layers set and flavors meld together.
- Freezer Option: You can freeze it for up to 1 month. Let thaw in the fridge before serving.
Chef’s Special Tips
A few simple tricks can make this dessert look bakery-worthy. Use a food processor to get fine, even cookie crumbs for the crust. Chill each layer for a few minutes before adding the next one to keep those beautiful, clean layers. And don’t forget to garnish, extra Oreos on top make it irresistible.
- For the cleanest layers, chill the crust and cream cheese layer separately before adding pudding.
- Use full-fat cream cheese for the richest flavor.
- Crush Oreos in a food processor for the perfect fine crumb texture.
Conclusion
Oreo Mud Pie Dessert is the ultimate crowd-pleasing treat; creamy, chocolatey, and irresistibly indulgent. With its crunchy Oreo crust, silky pudding layer, and fluffy whipped topping, it’s a dessert that looks impressive but comes together with minimal effort. Whether you’re making it for a holiday dinner, a summer cookout, or just because, this no-bake favorite is sure to steal the show. Now it’s your turn! Make this Oreo Mud Pie Dessert and share it with friends and family.