Old-Fashioned Orange Candy
There’s something magical about old-fashioned candies, simple ingredients, vibrant flavors, and a nostalgia that takes you back to childhood. Old-Fashioned Orange Candy is a perfect example: a sweet, tangy, and citrusy treat with a glossy finish and a burst of bright orange flavor in every bite. Made with just a few basic ingredients, this candy is easy to make at home and perfect for gifts, holiday treats, or a fun kitchen project with kids. Its chewy yet firm texture and unmistakable orange aroma make it a classic favorite.
Why You’ll Love Old-Fashioned Orange Candy
- Simple ingredients: Just sugar, corn syrup, butter, and orange flavoring.
- Bright citrus flavor: Tangy and sweet, perfectly balanced.
- Customizable: Add zest, color, or even a chocolate dip.
- Perfect gift: Wrapped individually, they make charming homemade presents.
- Nostalgic: Brings back memories of candy shops and simpler times.
Ingredients Overview
- Granulated sugar (2 cups): Forms the candy base and gives it structure.
- Corn syrup (2/3 cup): Prevents crystallization and ensures a smooth, chewy texture.
- Water (2/3 cup): Dissolves sugar and helps create a syrup.
- Unsalted butter (2 tbsp): Adds richness and smoothness.
- Orange extract (1–2 tsp): Provides classic orange flavor.
- Optional: Orange zest for extra citrus aroma, or orange food coloring for a vibrant appearance.
Step-by-Step Instructions
Step 1: Prepare Your Pan
Grease a 9×9-inch baking pan or line with parchment paper. Lightly grease or spray the parchment to prevent sticking.
Step 2: Cook the Sugar Mixture
In a medium saucepan, combine sugar, corn syrup, and water. Stir gently until sugar dissolves. Clip a candy thermometer to the pan. Heat the mixture over medium heat without stirring until it reaches 250–260°F (hard-ball stage).
Step 3: Add Butter and Flavoring
Once the mixture reaches temperature, remove from heat. Stir in butter until melted and smooth, then add orange extract and optional zest.
Step 4: Pour and Cool
Pour the hot candy mixture into the prepared pan. Let it cool at room temperature until firm but still pliable.
Step 5: Cut and Wrap
Once set, cut the candy into squares or rectangles. Wrap each piece in wax paper to keep them from sticking together.
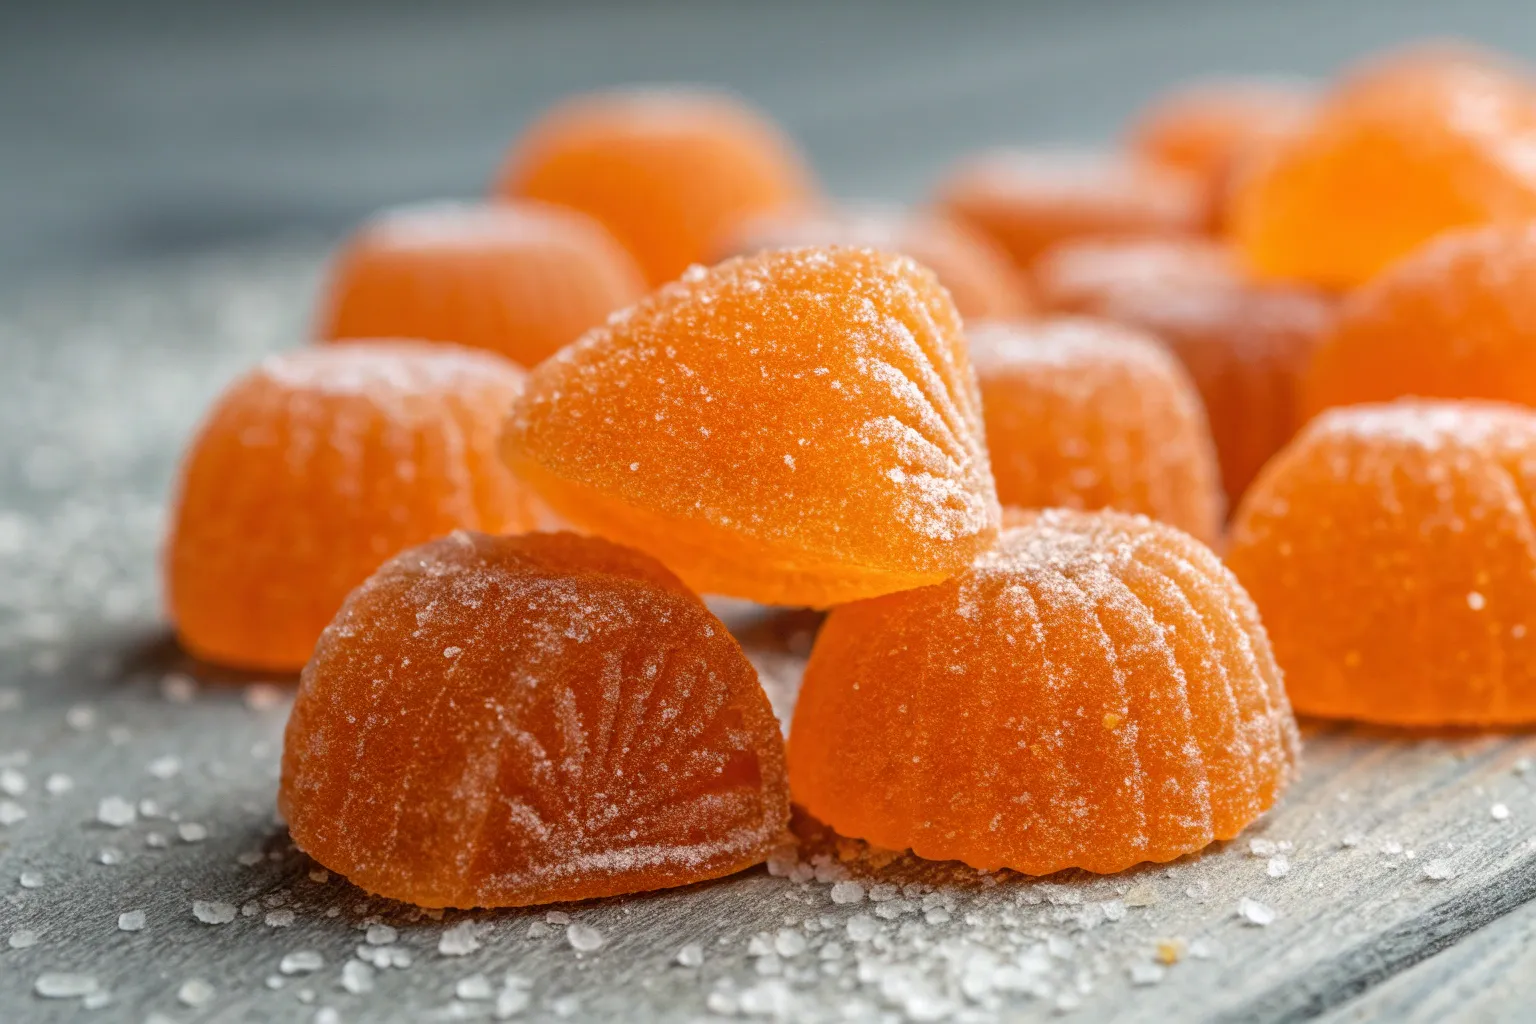
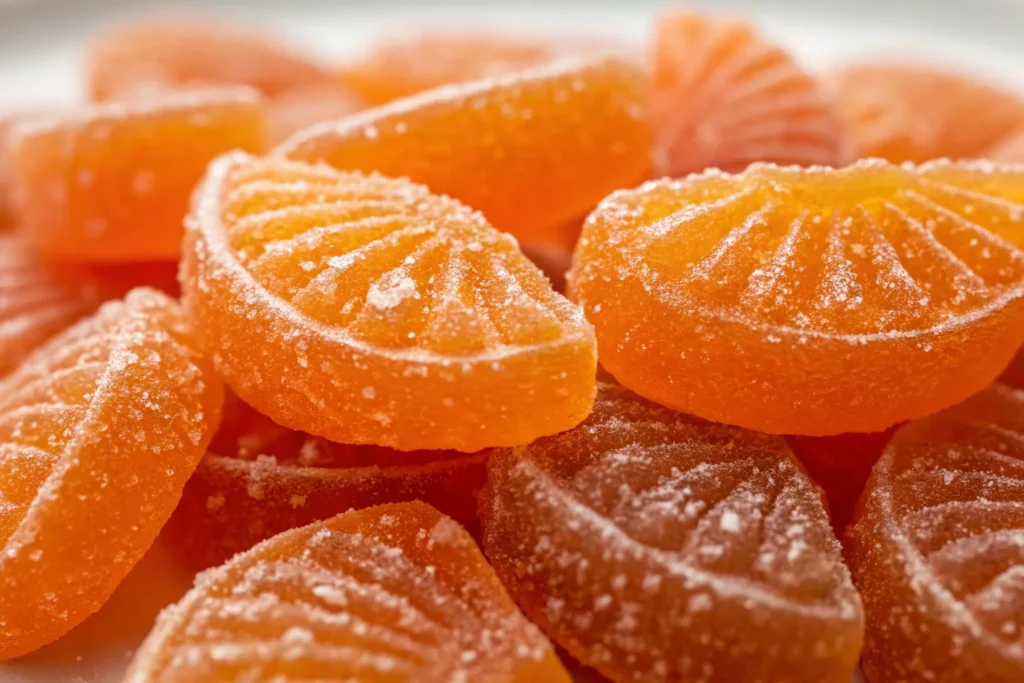
Flavor and Texture

Old-fashioned orange candy is a delicate balance of sweetness and tangy citrus. The texture is slightly firm but chewy, giving it a satisfying bite. The butter adds subtle richness, while the orange extract ensures that classic bright, sunny flavor. Optional zest enhances the natural citrus aroma, making every piece fragrant and mouthwatering.
Tips for the Perfect Candy
- Use a candy thermometer: Accurate temperature is key to achieving the right texture.
- Avoid stirring while boiling: This prevents sugar crystallization.
- Work quickly: Once butter and flavoring are added, the candy hardens fast.
- Grease hands or utensils: Makes handling easier when cutting or shaping candy.
- Optional color: Add orange food coloring for a vibrant, nostalgic look.
Variations and Customizations
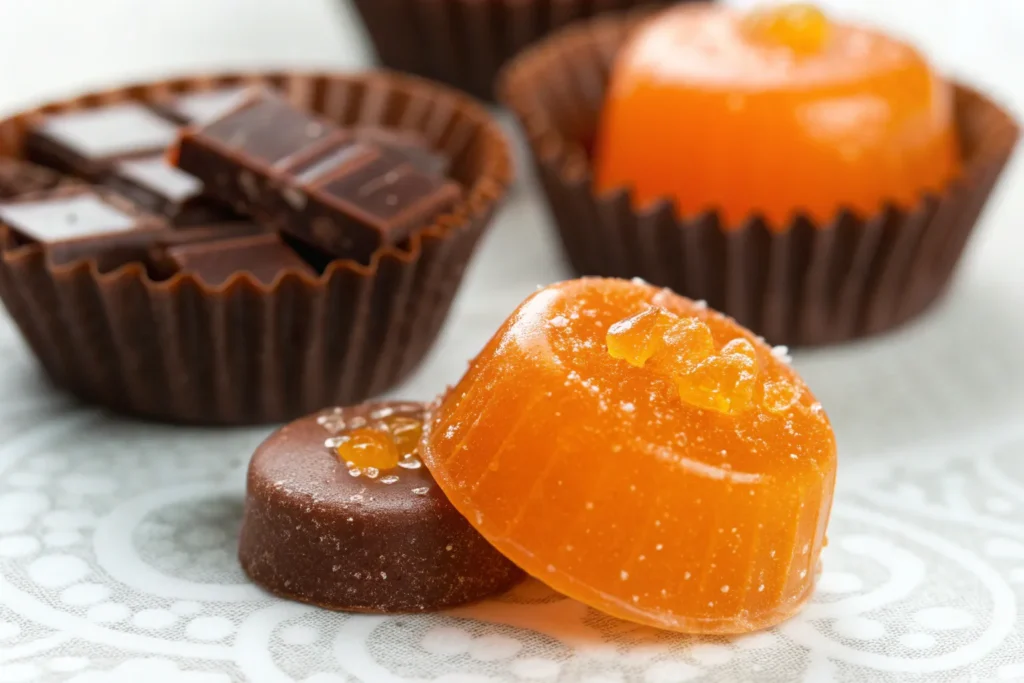
- Chocolate-Dipped Orange Candy: Dip cooled candy squares in melted chocolate for an indulgent twist.
- Zesty Orange Candy: Add extra orange zest to intensify the citrus aroma.
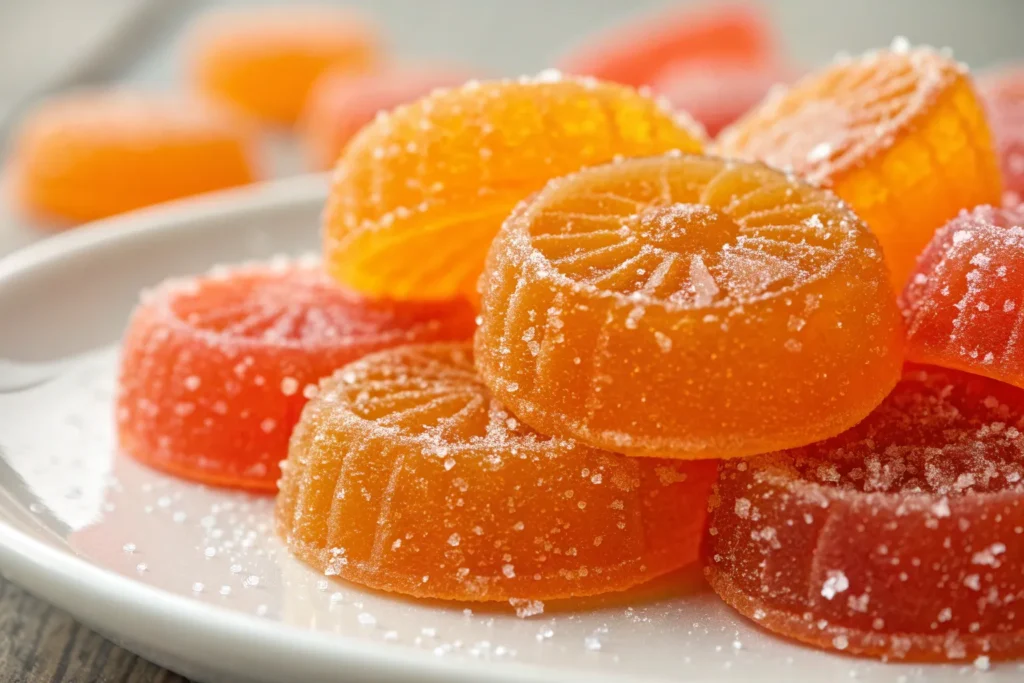
- Fruity Mix: Swap orange extract with lemon, lime, or cherry for different flavors.
- Soft Candy Version: Cook slightly less for a chewier texture, more like taffy.
- Holiday Twist: Sprinkle crushed candy canes or colored sugar on top before cooling.
Make-Ahead and Storage
- Room Temperature Storage: Store candy in an airtight container at room temperature for up to 2–3 weeks.
- Avoid Humidity: Candy can become sticky in humid conditions. Store in a dry, cool place.
- Freezing: Optional, wrap each piece tightly in wax paper, then freeze for longer storage. Thaw at room temperature before eating.
Serving Suggestions
- Serve as a sweet treat for afternoon tea or coffee.
- Include in homemade candy boxes or gift baskets.
- Pair with dark chocolate or nuts for a fancy dessert platter.
- Use as a topping or garnish for cakes and cupcakes.
Conclusion
Old-Fashioned Orange Candy is a simple, nostalgic treat that brings joy with every bite. Its bright orange flavor, perfect chewiness, and buttery richness make it a favorite for holidays, gifts, or just satisfying a sweet craving. With easy ingredients, customizable flavors, and timeless appeal, this candy proves that sometimes the simplest recipes create the most memorable treats. Perfect for sharing, gifting, or enjoying yourself, old-fashioned orange candy is a classic sweet that never goes out of style.
Frequently Asked Questions(FAQs)
Can I make this candy without corn syrup?
Yes, but corn syrup prevents crystallization. You can substitute with honey or glucose syrup, but texture may differ.
Can I make sugar-free orange candy?
Yes, with sugar substitutes like erythritol or allulose, though texture may be slightly softer.
Why did my candy crystallize?
Crystallization usually happens if the sugar mixture is stirred too much or if the pan isn’t properly greased.
Can I add other flavors?
Yes! Lemon, lime, cherry, or peppermint extract work well.
How long does the candy last?
Stored properly in an airtight container at room temperature, it lasts 2–3 weeks.
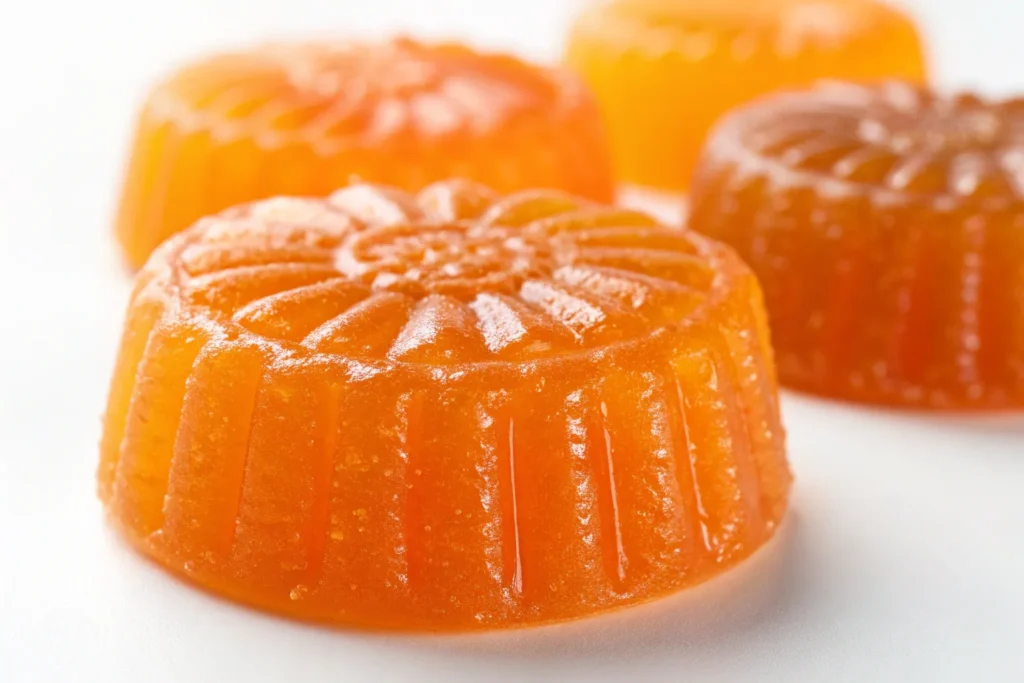
Can I shape the candy differently?
Absolutely! Use candy molds, cut into squares, rectangles, or even roll into logs for homemade candy sticks.
Do I need a candy thermometer?
While not mandatory, a candy thermometer ensures your candy reaches the correct hard-ball stage for proper texture.
Printable Recipe Card
Old-Fashioned Orange Candy – Printable Recipe Card
Prep Time: 10 minutes
Cook Time: 15 minutes
Cooling Time: 30–45 minutes
Yield: ~30 pieces
Ingredients
- 2 cups granulated sugar
- 2/3 cup corn syrup
- 2/3 cup water
- 2 tbsp unsalted butter
- 1–2 tsp orange extract
- Optional: orange zest, orange food coloring
- Wax paper for wrapping
Instructions
- Prepare the Pan:
Grease a 9×9-inch pan or line with parchment paper. Lightly grease the parchment to prevent sticking. - Cook Sugar Mixture:
In a medium saucepan, combine sugar, corn syrup, and water. Stir until sugar dissolves. Clip a candy thermometer to the pan. Heat over medium without stirring until 250–260°F (hard-ball stage). - Add Butter & Flavor:
Remove from heat. Stir in butter until melted, then add orange extract and optional zest or food coloring. - Pour & Cool:
Pour the hot candy into the prepared pan. Allow to cool at room temperature until firm but still pliable. - Cut & Wrap:
Cut into squares or rectangles. Wrap each piece in wax paper to prevent sticking.
Tips & Notes
- Use a candy thermometer for perfect texture.
- Avoid stirring while boiling to prevent crystallization.
- Add extra zest or food coloring for a vibrant look.
- For chewy candy, cook slightly less; for firmer candy, cook a little longer.
- Store in an airtight container in a cool, dry place for 2–3 weeks.
Variations
- Chocolate-Dipped: Dip cooled candy in melted chocolate.
- Zesty Orange: Add extra orange zest.
- Other Flavors: Try lemon, lime, or cherry extract.
- Holiday Twist: Sprinkle crushed candy canes or colored sugar on top before cooling.
Printable Recipe Card
Want just the essential recipe details without scrolling through the article? Get our printable recipe card with just the ingredients and instructions.