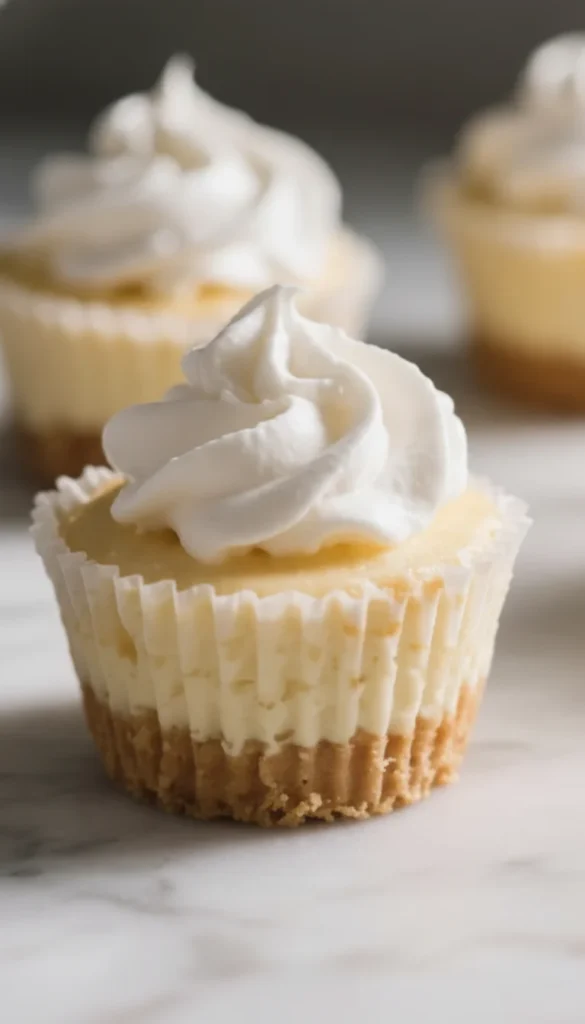
No Bake Cheesecake Cups With Cool Whip – Fast, Creamy, and Crowd-Pleasing
No fuss, no oven, and no waiting around all day these no bake cheesecake cups with Cool Whip are the kind of dessert that just works. They’re silky, light, and perfectly sweet, with a buttery cookie crumb at the bottom. You can mix, spoon, and chill in under 20 minutes, then garnish with whatever you love.
Whether you’re hosting or just want a treat in the fridge, this is a reliable, low-stress option. And yes, they taste like cheesecake without the heavy lift.
What Makes This Special
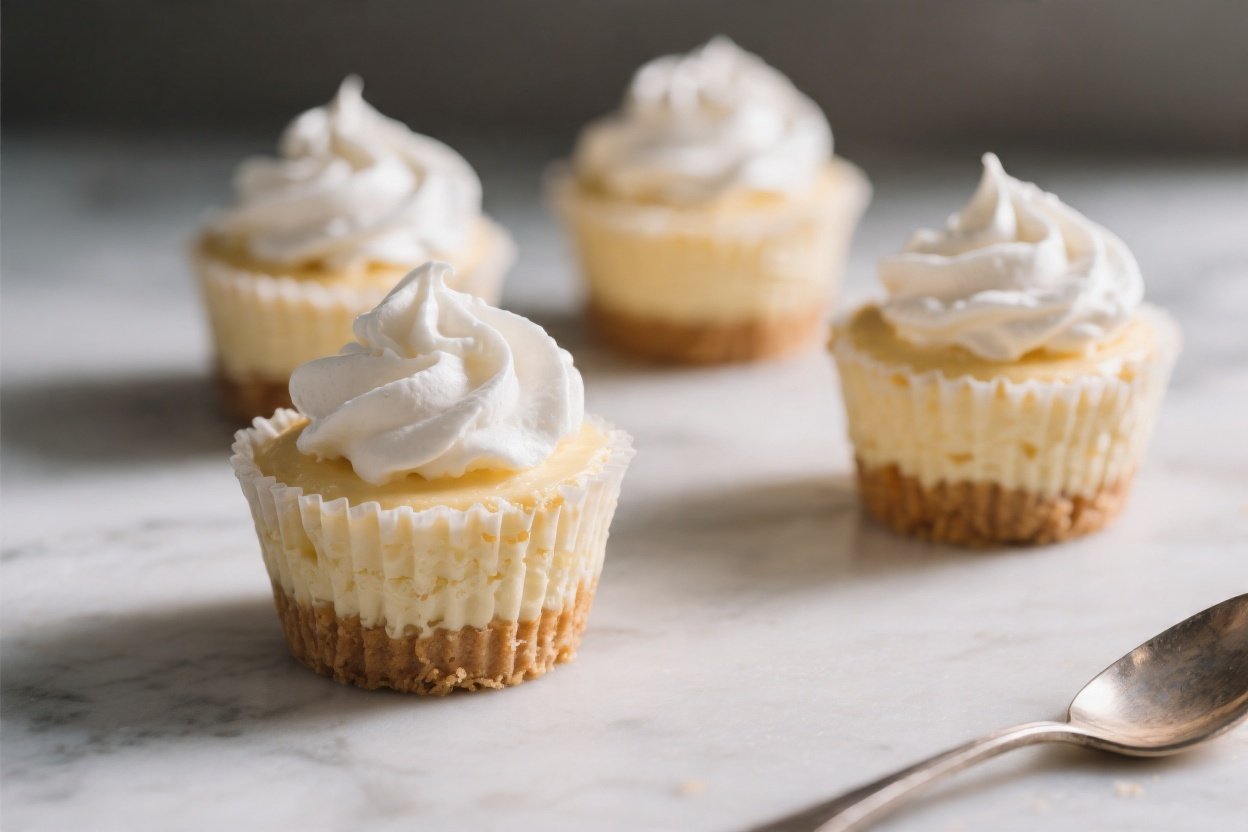
These cups deliver that classic cheesecake flavor with a lighter, mousse-like texture thanks to Cool Whip. They’re portioned, so serving is effortless and tidy ideal for parties or weeknight desserts.
You can customize the base, the filling flavor, and the topping with little effort. Plus, the ingredients are easy to find and budget-friendly.
Ingredients
- 8 oz (225 g) cream cheese, softened to room temperature
- 1/3 cup granulated sugar (adjust to taste)
- 1 tsp vanilla extract
- 1 tbsp lemon juice (optional, for brightness)
- 8 oz (225 g) Cool Whip, thawed in the fridge
- 1 1/4 cups graham cracker crumbs (or vanilla wafer crumbs)
- 4 tbsp unsalted butter, melted
- Pinch of salt
- Toppings: fresh berries, pie filling, lemon curd, chocolate shavings, or caramel
- Equipment: 8–10 small cups or jars (4–6 oz each), mixing bowls, hand mixer or whisk, spatula
Instructions
- Make the crust. Stir graham crumbs, melted butter, and a pinch of salt until the texture feels like wet sand and clumps when pressed.
- Portion the crust. Spoon 1–2 tablespoons into each cup. Press down firmly with the back of a spoon to create an even base.
- Beat the cream cheese. In a bowl, beat softened cream cheese with sugar until smooth and no lumps remain.Add vanilla and lemon juice; mix again.
- Fold in Cool Whip. Gently fold the Cool Whip into the cream cheese mixture until fully combined and airy. Do not overmix.
- Fill the cups. Spoon or pipe the cheesecake filling over the crusts, leaving a little room on top for garnish.
- Chill. Cover and refrigerate for at least 1–2 hours, or until set and nicely chilled. Overnight is great for deeper flavor.
- Top and serve. Add berries, pie filling, or your favorite topping right before serving.
How to Store
Cover the cups tightly and refrigerate for up to 4 days. Add fresh fruit just before serving to keep it from weeping. For longer storage, you can freeze the filled cups (without fresh fruit) for up to 1 month. Thaw overnight in the fridge for best texture.
Benefits of This Recipe
- Quick and no-bake: Perfect for hot days or busy schedules.
- Beginner-friendly: Simple steps and forgiving ingredients.
- Customizable: Swap crumbs, flavors, and toppings to fit any theme.
- Portion control: Individual cups make serving easy and tidy.
- Make-ahead: Chill in advance and pull out when guests arrive.
Pitfalls to Watch Out For
- Cold cream cheese causes lumps. Let it soften fully before mixing.
- Overmixing deflates the filling. Fold gently once Cool Whip is added.
- Watery toppings can bleed. Add juicy fruit right before serving or pat it dry.
- Crust too loose? Add a bit more melted butter or press more firmly.
- Too sweet or too tart? Taste the filling before chilling and adjust sugar or lemon juice.
Alternatives
- Crust swaps: Use Oreos (no extra sugar needed), Biscoff cookies, or gluten-free cookies.
- Flavor twists: Stir in 2–3 tablespoons of peanut butter, Nutella, or lemon curd to the filling.
- Protein boost: Replace part of the cream cheese with Greek yogurt (strain for thickness).
- Lighten it up: Use light cream cheese and light Cool Whip; reduce sugar slightly.
- Mini cheesecakes: Build in lined muffin tins for a more structured shape.
FAQ
Can I use homemade whipped cream instead of Cool Whip?
Yes. Whip 1 cup cold heavy cream with 2 tablespoons powdered sugar to soft peaks, then fold into the cream cheese mixture. The texture will be slightly softer and best served within 2–3 days.
Why is my filling runny?
Common reasons: cream cheese wasn’t fully softened, mixture was overmixed, or too much liquid flavoring was added. Chill longer to help it set. Next time, keep add-ins minimal and fold gently.
Do I need to bake the crust?
No. The butter binds it when chilled. If you prefer a firmer crust, you can bake the crumb base in ramekins at 350°F (175°C) for 6–8 minutes, then cool completely before filling.
What size cups work best?
Small jars or cups in the 4–6 oz range are ideal. They hold a good crust-to-cream ratio and are easy to serve.
Can I make this sugar-free?
Use a sugar substitute that measures like sugar and choose sugar-free whipped topping and cookies. Taste and adjust, since some sweeteners can be stronger.
Wrapping Up
No bake cheesecake cups with Cool Whip are easy, flexible, and always welcome at the table. With a smooth filling and a buttery crumb, they’re sweet without being heavy. Keep some in the fridge for a quick dessert, then switch up toppings to match your mood or the season. Simple ingredients, great payoff that’s a win.
Ingredients
Method
- Make the crust. Stir graham crumbs, melted butter, and a pinch of salt until the texture feels like wet sand and clumps when pressed.
- Portion the crust. Spoon 1–2 tablespoons into each cup. Press down firmly with the back of a spoon to create an even base.
- Beat the cream cheese. In a bowl, beat softened cream cheese with sugar until smooth and no lumps remain. Add vanilla and lemon juice; mix again.
- Fold in Cool Whip. Gently fold the Cool Whip into the cream cheese mixture until fully combined and airy. Do not overmix.
- Fill the cups. Spoon or pipe the cheesecake filling over the crusts, leaving a little room on top for garnish.
- Chill. Cover and refrigerate for at least 1–2 hours, or until set and nicely chilled. Overnight is great for deeper flavor.
- Top and serve. Add berries, pie filling, or your favorite topping right before serving.
Printable Recipe Card
Want just the essential recipe details without scrolling through the article? Get our printable recipe card with just the ingredients and instructions.