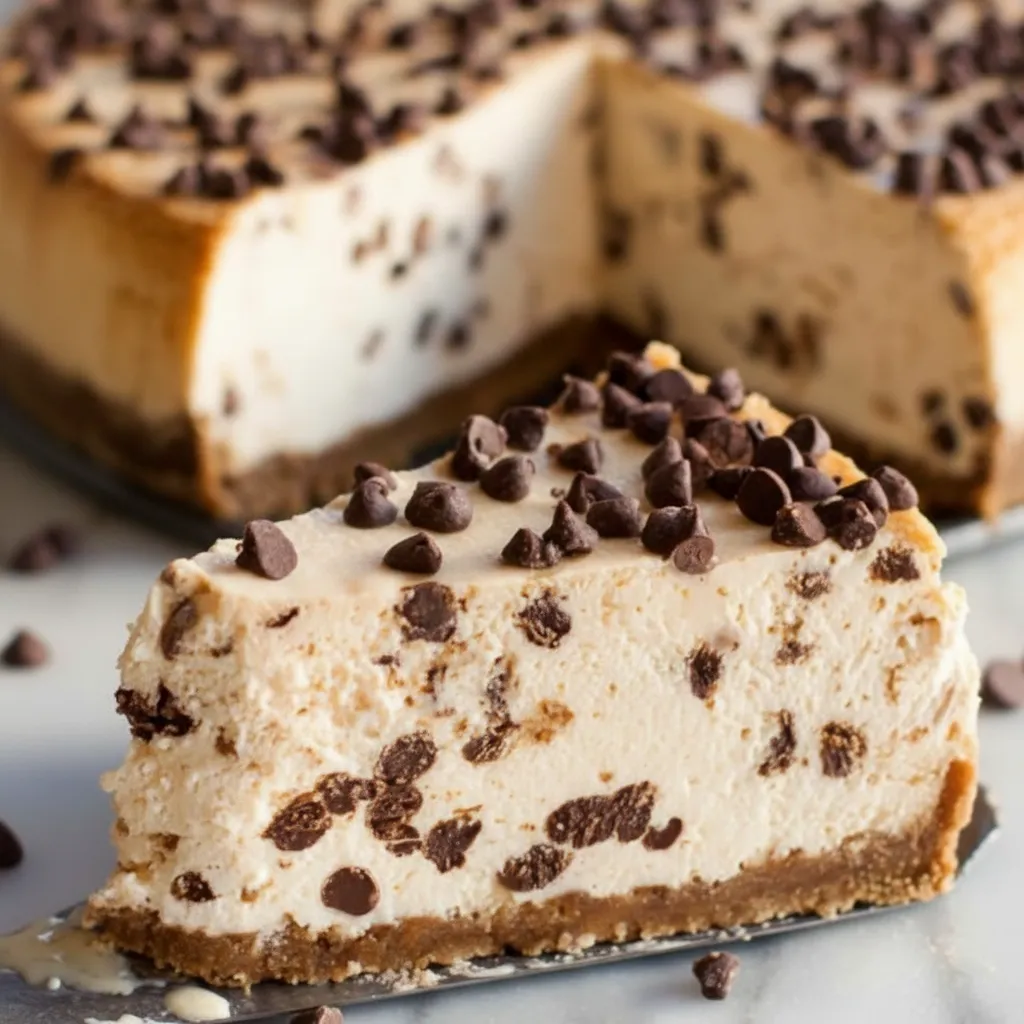
High Protein Cheesecake
How to create a rich and creamy protein cheesecake with 16g protein per slice that truly tastes authentic, without using refined sugar.
This High Protein Cheesecake is my personal solution to sweet cravings that won’t ruin your macros. It gives you that classic cheesecake flavor with 16g of protein in every slice no chalky taste and no sacrifice in texture.
I still remember serving this to my family without mentioning it was a “healthier” version. Everyone reached for another slice before asking when we could make it again. That moment confirmed I had perfected it. The combination of ricotta and Greek yogurt boosts the protein, but the real magic lies in the method. Proper draining and gradual cooling are what give it that smooth, New York-style consistency. Whether you’re counting macros or simply want a smarter dessert choice, this cheesecake lets you enjoy both flavor and balance.
Ingredients for Protein Cheesecake
I’ve made this recipe many times to achieve the ideal texture. Draining the ricotta properly is essential I usually let it sit in a fine-mesh strainer over a bowl for about 30 minutes before using it. For protein powder, vanilla whey blends seamlessly and keeps the filling smooth, though unflavored works perfectly if you prefer a classic cheesecake taste.
For the Crust:
- 1 1/2 cups graham cracker crumbs (about 10 full sheets) – crushing them yourself gives better texture
- 3 tbsp melted coconut oil or butter
- 1 tbsp sweetener of choice (optional)
For the Filling:
- 1 1/2 cups part-skim ricotta cheese (well-drained) – excess moisture will affect the texture
- 1/2 cup plain Greek yogurt – full-fat gives extra creaminess
- 1 large egg (room temperature)
- 1 scoop vanilla or plain protein powder (35g) – whey or casein work best
- 1/4 cup sweetener of choice (maple syrup, honey, or granulated)
- 1 tbsp fresh lemon juice
- 1 tsp pure vanilla extract
- 1/4 tsp salt
Step-by-Step Instructions
For the smoothest filling, I recommend using a blender or food processor instead of mixing by hand. Also, make sure your ricotta has drained for at least 30 minutes before you begin.
Step 1:
Preheat your oven to 350°F (180°C). Line the base of a 9-inch springform pan with parchment paper to prevent sticking and ensure easy removal.
Step 2:
In a medium bowl, mix graham cracker crumbs, melted coconut oil or butter, and optional sweetener. Stir until the mixture resembles damp sand and holds together when pressed. Firmly press it into the bottom of the pan using the back of a measuring cup. Bake for 10 minutes until lightly golden.
Step 3:
While the crust is baking, place all filling ingredients into a blender or food processor. Blend on high for 60–90 seconds until completely smooth, making sure no ricotta lumps remain. Pause halfway to scrape down the sides for even blending.
Step 4:
Pour the smooth filling over the warm crust. Gently tap the pan on the counter to remove trapped air bubbles and level the top with a spatula. Bake for 40–45 minutes. The center should slightly wobble like set gelatin when gently shaken — not appear liquid.
Step 5:
Switch off the oven and leave the door slightly open. Allow the cheesecake to cool inside for 30 minutes to prevent cracking. Then let it cool at room temperature for another 30 minutes before transferring to the refrigerator for at least 6 hours or overnight. Before releasing from the pan, run a thin knife dipped in hot water around the edges for a clean finish.
What to Serve with Protein Cheesecake
This creamy dessert pairs wonderfully with fresh, vibrant flavors that balance its richness.
Fresh Mixed Berries:
Strawberries, blueberries, and raspberries add natural sweetness and refreshing tartness. They also enhance the presentation with beautiful color contrast.
Sugar-Free Whipped Cream:
A light topping adds airy texture without increasing sugar content, keeping the dessert macro-friendly yet indulgent.
Dark Chocolate Drizzle:
A thin drizzle of melted dark chocolate brings depth and slight bitterness that complements the sweetness perfectly.
Crushed Pistachios:
A sprinkle adds crunch and a subtle nutty flavor while making the dessert visually appealing.
Greek Yogurt Spoonful:
An extra dollop increases protein content and adds tangy contrast, especially delicious with a light drizzle of honey.
Storage & Serving Tips
Keep your protein cheesecake in an airtight container in the refrigerator for up to 5 days. To maintain freshness, place plastic wrap directly against the surface before sealing the container to prevent odor absorption.
For best flavor and texture, let each slice sit at room temperature for 10–15 minutes before serving. For perfectly clean slices, use a knife dipped in hot water and wiped dry between cuts.
You can also freeze individual slices by wrapping them tightly in plastic wrap and foil for up to 3 months. Thaw overnight in the refrigerator before serving. Preparing an extra cheesecake and freezing it is a great way to always have a high-protein dessert ready when cravings hit.
Conclusion
This High Protein Cheesecake shows that you don’t have to give up your favorite desserts to stay on track. With 16g of protein per slice and incredible flavor, it’s perfect for celebrations or weekly meal prep. Try it once, and you’ll see how satisfying a balanced dessert can truly be.
Printable Recipe Card
Want just the essential recipe details without scrolling through the article? Get our printable recipe card with just the ingredients and instructions.