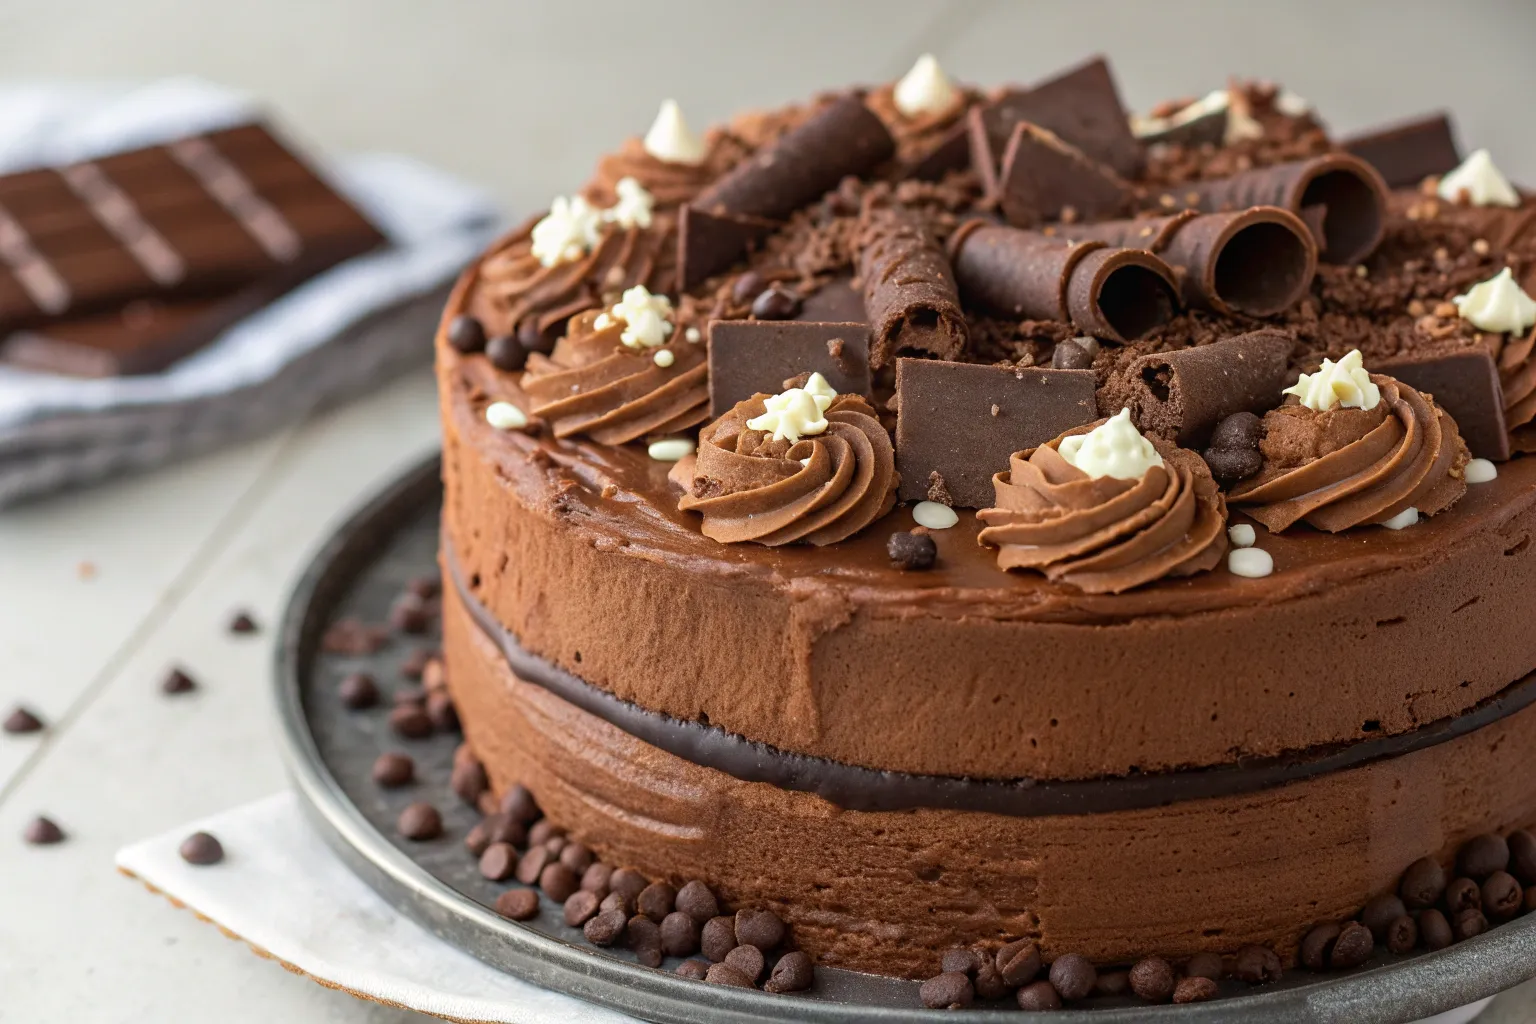
Matilda Chocolate Cake (Classic)
If you’ve ever watched Matilda and wished you could have a slice of that decadent, fudgy chocolate cake Bruce Bogtrotter devours, this recipe is for you. The Matilda Chocolate Cake is rich, moist, and ultra-chocolatey, with a deep cocoa flavor and a luscious frosting that makes every bite feel indulgent. Perfect for birthdays, holidays, or just when you need a serious chocolate fix, this cake is a true showstopper.
Why You’ll Love This Recipe
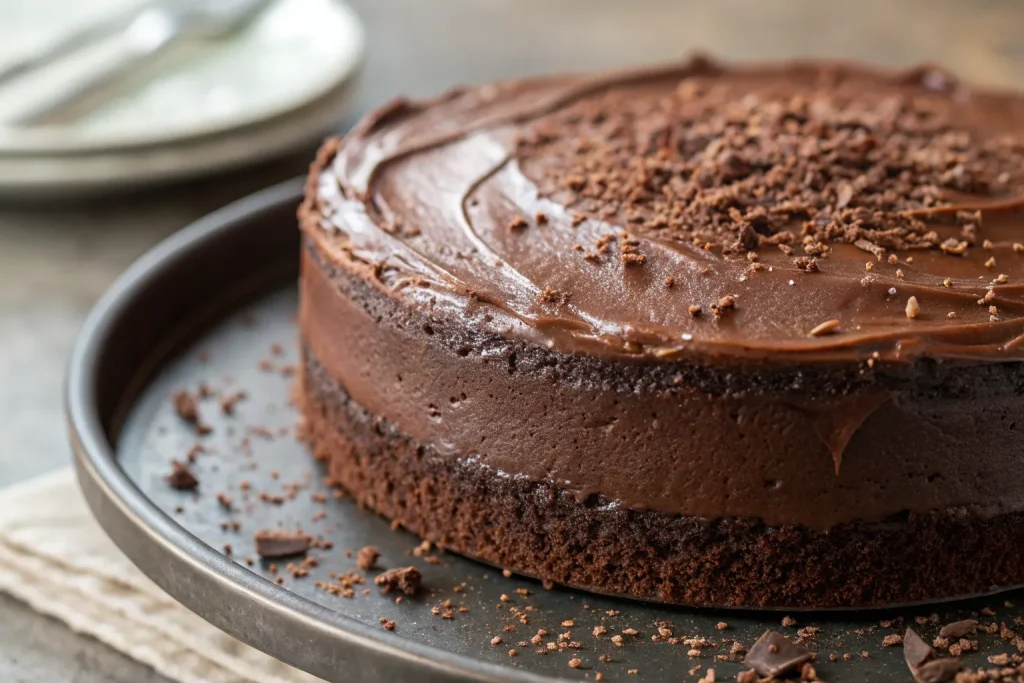
This cake isn’t just chocolate cake, it’s a celebration of chocolate in its purest, richest form. You’ll love how moist the crumb is, how silky and glossy the frosting turns out, and how simple the recipe is despite its impressive results. It’s a classic dessert that feels nostalgic but never goes out of style.
- Highlight the ultra-moist texture and rich chocolate flavor.
- Emphasize how easy it is to prepare (beginner-friendly).
- Mention that the frosting is glossy, decadent, and simple to make.
Nutritional Information
Knowing what’s in your dessert makes it easier to enjoy guilt-free. While this cake is definitely a treat, it’s made with real butter, cocoa, and buttermilk for a balanced, high-quality indulgence. Each slice provides plenty of carbs and some protein: just enough energy to justify going back for seconds.
- Break down approximate calories per slice (optional, but helpful).
- Mention it’s made with real ingredients (butter, cocoa, eggs, buttermilk).
- Suggest that it’s a special-occasion treat that’s worth every bite.
Time Breakdown
Making this cake is surprisingly manageable even for a weeknight. Mixing the batter takes just 15 minutes, baking requires about 30–35 minutes, and frosting takes another 10 minutes once cooled. In under an hour and a half, you can have a cake worthy of a celebration.
- Prep Time: 15 minutes – measuring, mixing, and preparing cake pans.
- Bake Time: 30–35 minutes – depending on oven calibration.
- Cooling & Frosting: 30 minutes – allow layers to cool before frosting.
- Total Time: Around 1 hour 15 minutes start to finish.
Ingredients You’ll Need
The star of this cake is, of course, cocoa powder, but the other ingredients play a key role in creating its moist texture and rich flavor. Buttermilk keeps the crumb tender, eggs provide structure, and butter delivers that melt-in-your-mouth finish.
- Lay out dry ingredients first — cocoa, flour, baking powder, baking soda, sugar, and salt.
- Then mention wet ingredients — eggs, buttermilk, butter, and vanilla.
- Add frosting ingredients — powdered sugar, butter, and cocoa for the icing.
Condensed Grocery Checklist
If you’re heading to the store, here’s your quick grab-and-go list:
- Cocoa powder
- All-purpose flour
- Sugar
- Butter
- Buttermilk
- Eggs
- Baking powder & baking soda
- Vanilla extract
- Powdered sugar (for frosting)
How to Make – Step by Step
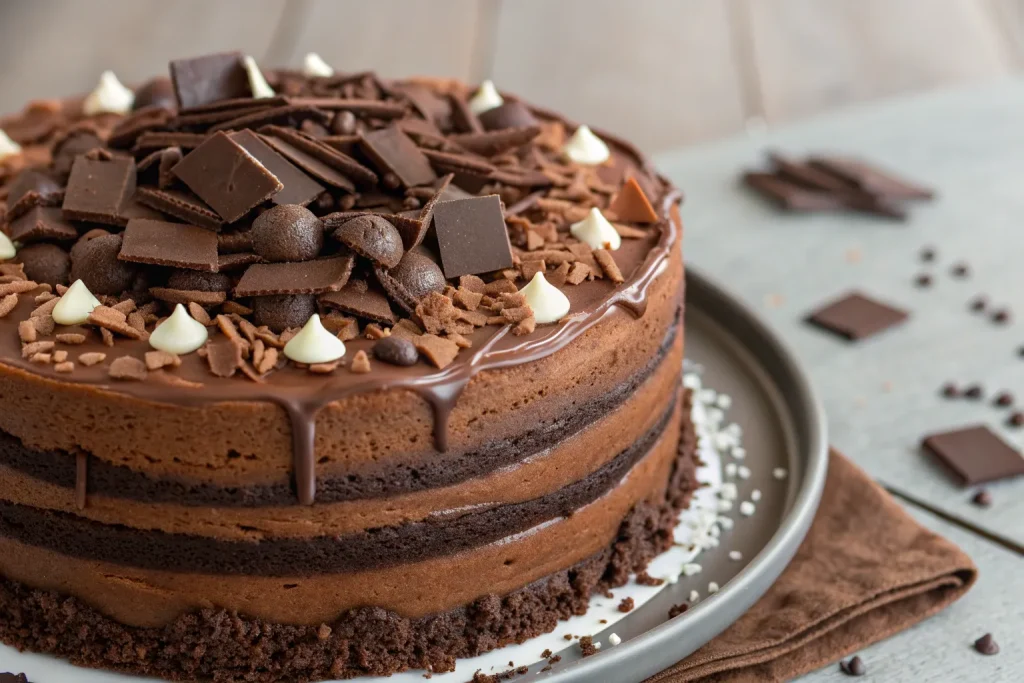
This cake is easy to follow, even for beginner bakers. You’ll start by mixing the dry ingredients, then cream butter and sugar before adding eggs and buttermilk. The batter comes together quickly and bakes into two beautiful layers. Once cooled, the frosting is whipped up until glossy and spread generously over the cake.
- Preheat oven to 350°F (175°C) and grease two 9-inch cake pans.
- Mix dry ingredients: Whisk together flour, cocoa, baking powder, baking soda, and salt.
- Cream butter & sugar: Beat until light and fluffy. Add eggs one at a time, mixing well.
- Alternate wet & dry: Add dry mix in three parts, alternating with buttermilk. Mix until smooth.
- Bake: Divide batter evenly into pans and bake 30–35 minutes. Test with a toothpick.
- Cool: Let cakes cool in pans for 10 minutes, then transfer to wire racks.
- Frost: Make frosting, then spread generously over cooled cake layers.
Ingredient Swaps & Variations
You can customize this cake to fit your preferences. Swap buttermilk for sour cream or yogurt for extra richness, use dark cocoa for a deeper flavor, or add espresso powder to enhance the chocolate notes. You could even make it gluten-free by using a 1:1 baking flour blend.
- Buttermilk Swap: Use plain yogurt or sour cream for a similar tangy moisture.
- Flour Swap: Use gluten-free 1:1 flour blend if needed.
- Chocolate Boost: Add 1 tsp espresso powder for deeper chocolate flavor.
- Frosting Twist: Replace cocoa frosting with ganache or chocolate cream cheese frosting
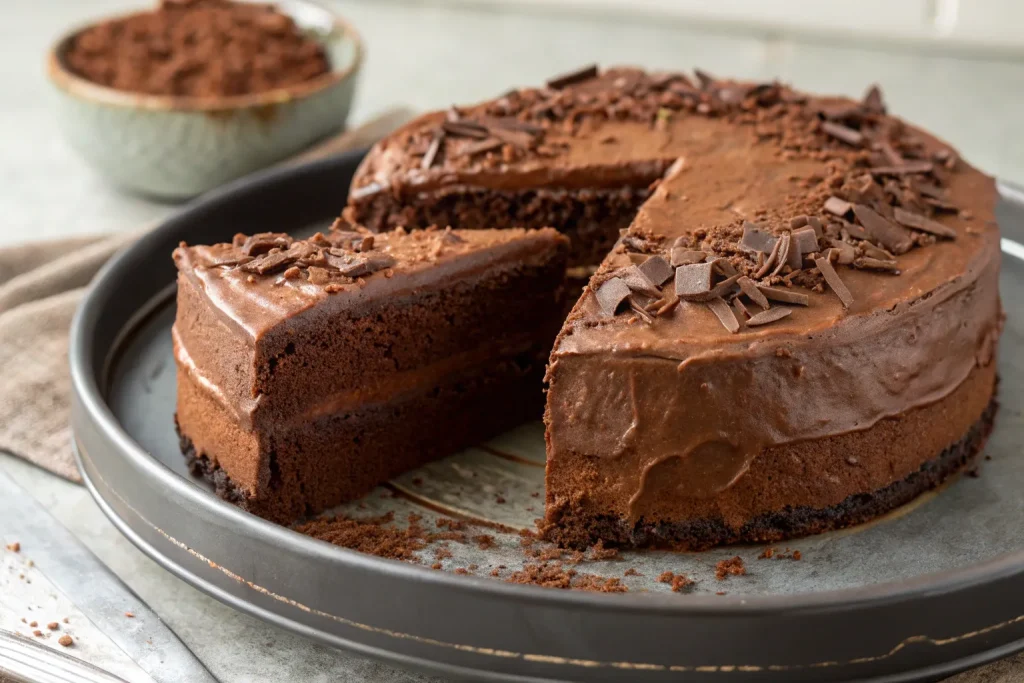
Serving Suggestions
This cake is so good it can stand alone, but it pairs beautifully with a scoop of vanilla ice cream or a dollop of whipped cream. Serve with a glass of cold milk for that Matilda-style nostalgia, or go fancy with a drizzle of raspberry sauce for a dinner party presentation.
- Serve slices with a cold glass of milk for nostalgic vibes.
- Pair with vanilla ice cream or whipped cream for extra indulgence.
- Garnish with chocolate curls, berries, or a dusting of powdered sugar for presentation.
Storing Tips
To keep the cake moist, store it covered at room temperature for up to 3 days. For longer storage, refrigerate it in an airtight container for up to a week, just let it come to room temperature before serving. You can also freeze unfrosted layers for up to 2 months, then frost when ready to enjoy.
- Room Temperature: Store in a covered cake dome for up to 3 days.
- Refrigeration: Keep in an airtight container for up to 7 days.
- Freezing: Wrap unfrosted layers in plastic wrap and freeze for up to 2 months.
- Reheating: Bring refrigerated cake to room temperature before serving.
Chef’s Special Tips
- Use high-quality cocoa powder for the best flavor.
- Don’t overmix the batter, it keeps the cake light and tender.
- Level the cake layers with a serrated knife for a perfectly stacked presentation.
- Warm your frosting slightly if it’s too stiff to spread, it will go on smoothly.
Conclusion
Matilda Chocolate Cake is more than just dessert, it’s an experience. Moist, rich, and undeniably chocolatey, it’s the kind of cake that makes everyone at the table pause after the first bite. Whether you’re recreating a bit of childhood nostalgia or just looking for the ultimate chocolate cake, this recipe delivers every single time.