Homemade Coffee Ice Cream

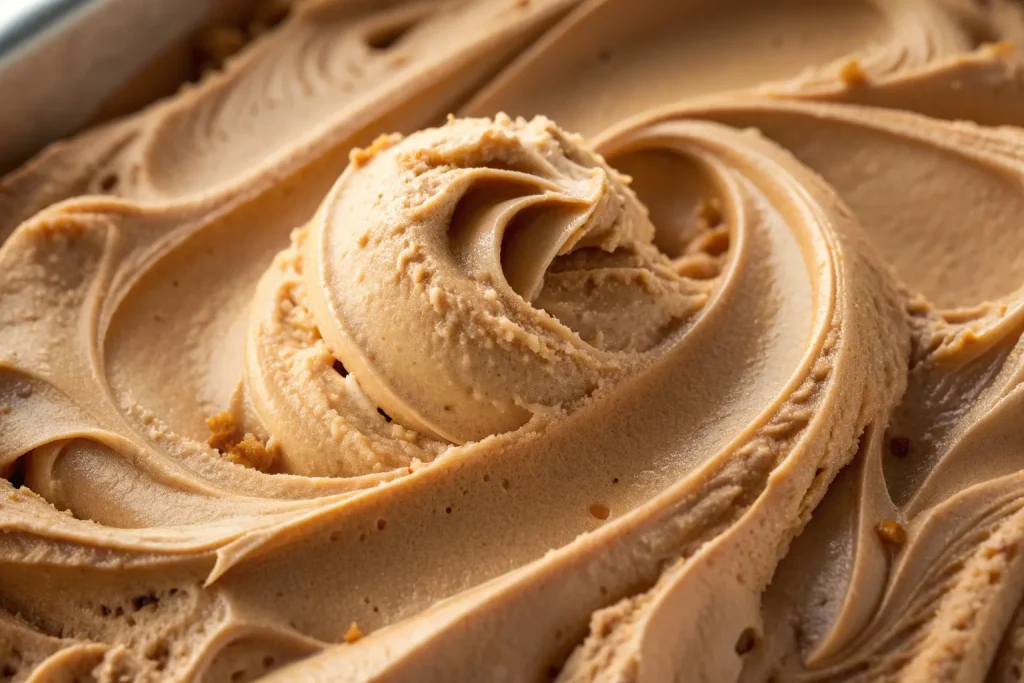
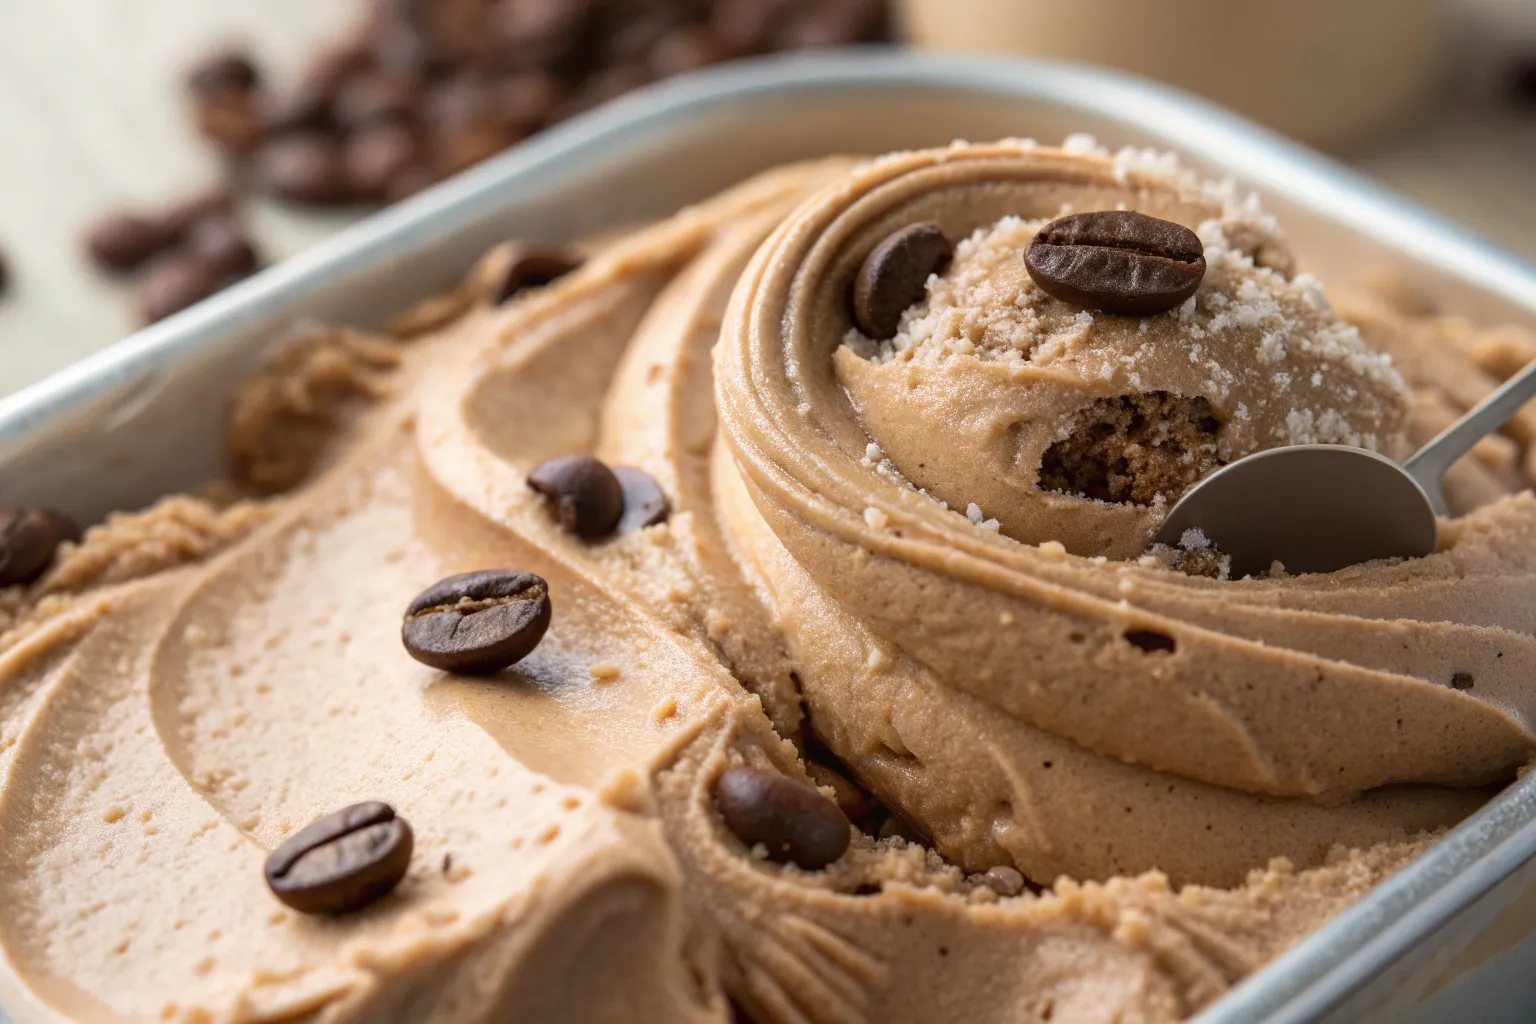
Coffee lovers, rejoice! Homemade Coffee Ice Cream brings the rich, bold flavor of your favorite brew into a creamy, frozen dessert. This recipe is surprisingly simple, letting you create a café-quality treat at home without fancy equipment. Perfect for hot summer days, after-dinner indulgence, or an afternoon pick-me-up, it’s velvety, flavorful, and utterly irresistible.
Why You’ll Love This Recipe
This recipe captures the essence of freshly brewed coffee in a rich, creamy ice cream. It’s customizable to your preferred sweetness and intensity, allowing for a perfect balance every time. The stovetop custard method ensures a smooth texture, and you don’t need professional equipment to make it. Whether you enjoy it solo or with desserts, it’s a guaranteed crowd-pleaser.
- Rich Coffee Flavor: The deep, roasted taste of coffee shines through every spoonful.
- Creamy Texture: Smooth, velvety ice cream that melts perfectly in your mouth.
- Customizable Sweetness: Adjust sugar levels to suit your taste.
- No Specialty Equipment Needed: Simple stovetop method or ice cream maker option.
Nutritional Information (Per Serving)
Coffee ice cream is a delightful treat, and knowing its nutritional content helps you enjoy it responsibly. Each serving provides calories from cream, milk, and sugar, along with a small protein boost from eggs. Understanding the nutritional breakdown can help you plan portions for family treats or special occasions.
- Calories: ~220
- Fat: 14g
- Carbohydrates: 22g
- Sugar: 20g
- Protein: 3g
Note: Nutrition varies depending on cream, milk, and sugar used.
Time Breakdown
While ice cream takes some time to chill and freeze, the active preparation is straightforward and quick. From brewing coffee to cooking the custard, most steps require attention but not hours. This recipe is ideal for planning ahead while still being easy to make for a weekend dessert or spontaneous craving.
- Prep Time: 10 minutes
- Chilling Time: 1–2 hours
- Churning/Freezing Time: 20–30 minutes (plus several hours in the freezer)
- Total Time: Approximately 4–6 hours
Ingredients You’ll Need
The ingredients are simple, pantry-friendly, and easy to find at most grocery stores. Cream, milk, sugar, eggs, and coffee come together to create a rich, flavorful base. A few optional flavorings or mix-ins can elevate the ice cream to a café-quality treat.
- 2 cups heavy cream
- 1 cup whole milk
- 3/4 cup granulated sugar
- 1/2 cup strong brewed coffee, cooled
- 4 large egg yolks
- 1 tsp vanilla extract
- Pinch of salt
Condensed Grocery Checklist
Shopping for this ice cream is straightforward and efficient. A handful of ingredients are all you need to create a decadent homemade dessert. This checklist ensures you have everything on hand, making preparation smooth and stress-free.
- Heavy cream
- Whole milk
- Granulated sugar
- Coffee (brewed strong)
- Eggs
- Vanilla extract
- Salt
How to Make – Step by Step

The process is easy to follow, even for beginners. Each step, from tempering the eggs to churning, is designed to produce a creamy, smooth result. With careful attention and simple techniques, anyone can achieve perfect homemade coffee ice cream.
- Brew coffee: Prepare strong coffee and let it cool.
- Heat milk and cream: In a saucepan, combine milk and cream over medium heat until warm.
- Whisk egg yolks and sugar: In a bowl, whisk sugar into egg yolks until pale and creamy.
- Temper the eggs: Slowly pour warm cream mixture into the yolks while whisking continuously. Return to the saucepan.
- Cook custard: Cook on low heat, stirring constantly, until thick enough to coat the back of a spoon.
- Add coffee and vanilla: Remove from heat and stir in cooled coffee, vanilla, and a pinch of salt.
- Chill: Refrigerate the mixture for at least 1–2 hours.
- Churn: Pour into an ice cream maker and churn according to the manufacturer’s instructions, or freeze in a container, stirring every 30 minutes until creamy.
- Freeze and serve: Transfer to a container, freeze for 3–4 hours for firm ice cream, and enjoy!
Ingredient Swaps & Variations
This recipe is versatile and can accommodate different dietary needs and flavor preferences. You can swap milks, sweeteners, or coffee types to suit your taste. Adding mix-ins like chocolate chips, caramel, or cookie crumbles allows for endless creative variations.
- Milk alternative: Use almond or oat milk for a dairy-free version.
- Coffee variation: Use espresso for a bolder flavor or coffee liqueur for an adult twist.
- Sweetener swap: Honey, maple syrup, or coconut sugar can replace granulated sugar.
- Mix-ins: Chocolate chips, caramel swirls, or crushed cookies can be added for extra texture.
Serving Suggestions
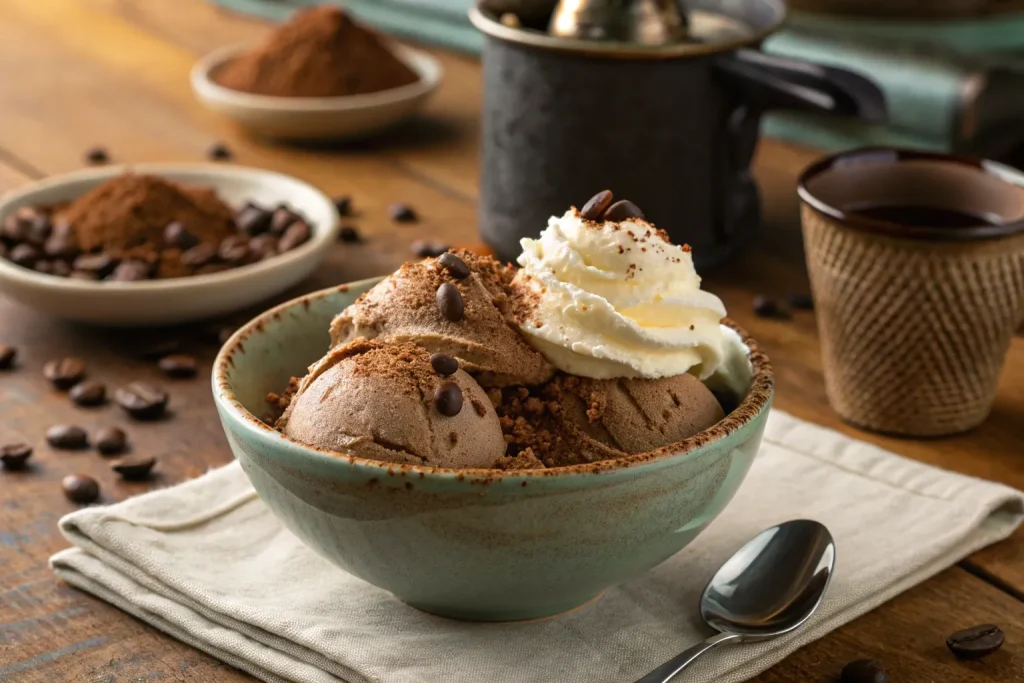
Homemade coffee ice cream is delicious on its own or paired with complementary desserts. Try it with warm brownies, cookies, or even as an affogato with espresso. Its rich flavor also pairs beautifully with chocolate, caramel, or nut toppings.
- Serve in a bowl with chocolate shavings or caramel drizzle.
- Pair with warm brownies or espresso cookies for a decadent dessert.
- Make affogato-style treats by pouring hot espresso over a scoop of this ice cream.
Storing Tips
Proper storage ensures your ice cream stays creamy and flavorful. Use an airtight container and press plastic wrap or parchment paper directly on the surface to prevent ice crystals. Allow a few minutes at room temperature before scooping to achieve the perfect texture.
- Store in an airtight container in the freezer for up to 2 weeks.
- To prevent ice crystals, press a piece of parchment or plastic wrap directly on the surface before sealing.
- Let sit at room temperature for a few minutes before scooping for the best texture.
Chef’s Special Tips

Small techniques can make a big difference in texture and flavor. Use low heat to prevent curdling, freshly brewed coffee for the best taste, and gently fold in mix-ins at the end. Following these tips will elevate your homemade ice cream to professional-quality results.
- Don’t boil the custard; low heat ensures smooth, creamy texture.
- Tempering the eggs prevents scrambling.
- Use freshly brewed, strong coffee for the richest flavor.
- Stir in any mix-ins at the very end of churning for even distribution.
Conclusion
Homemade Coffee Ice Cream is a rich, creamy, and indulgent treat that satisfies any coffee craving. Easy to make and endlessly customizable, it’s perfect for dessert, snacks, or special occasions. Make a batch today and taste the bold, creamy flavor of freshly churned coffee ice cream right at home.

