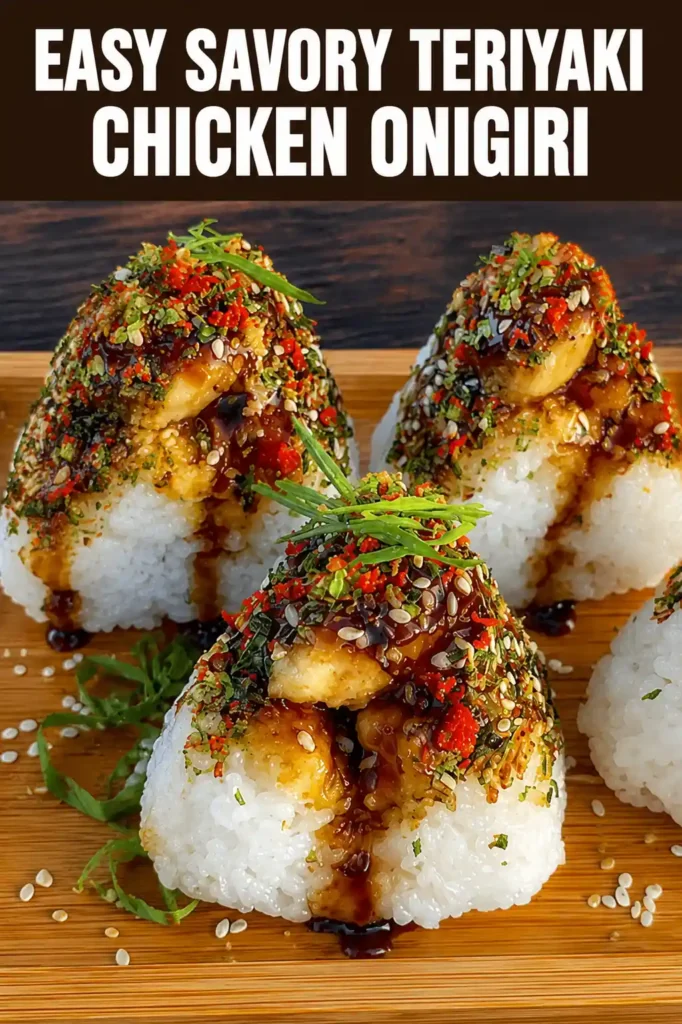
Homemade Teriyaki Chicken Onigiri Rice Balls Made Easy
These onigiri are the kind of food you want on busy days: comforting, portable, and full of flavor. Think tender teriyaki chicken tucked into warm, seasoned rice, wrapped with a crisp band of nori. It’s a snack that feels like a small victory every time you make it.
You don’t need special tools, just a few pantry staples and a little patience. Let’s make something that’s quick enough for lunch prep and tasty enough for a picnic.
What Makes This Special
Onigiri are classic Japanese rice balls, and this version leans into a sweet-savory teriyaki filling that feels familiar and fun. The homemade sauce is fast, balanced, and clings to the chicken beautifully. You can shape them by hand or use a simple mold. They keep well, pack easily, and feel more satisfying than a sandwich. Plus, the ingredients are flexible, so you can adjust to taste.
What You’ll Need
- Cooked Japanese short-grain rice (sushi rice), warm but not hot: about 4 cups
- Chicken (thigh or breast), diced small: 10–12 oz
- Nori sheets, cut into strips for wrapping
- Sesame seeds (optional), toasted
- Salt for seasoning the rice and your hands
- Neutral oil (like canola) for cooking
For the teriyaki sauce:
- Soy sauce: 3 tablespoons
- Mirin: 3 tablespoons
- Sake (or water): 2 tablespoons
- Sugar: 1–1.5 tablespoons, to taste
- Fresh ginger, grated: 1 teaspoon
- Garlic, minced: 1 clove
- Cornstarch slurry (1 teaspoon cornstarch mixed with 2 teaspoons water), optional for extra glossy sauce
How to Make It
- Cook the rice right. Rinse short-grain rice until the water runs mostly clear.Cook according to package instructions. Rest 10 minutes, then fluff. Keep it warm; slightly warm rice shapes best.
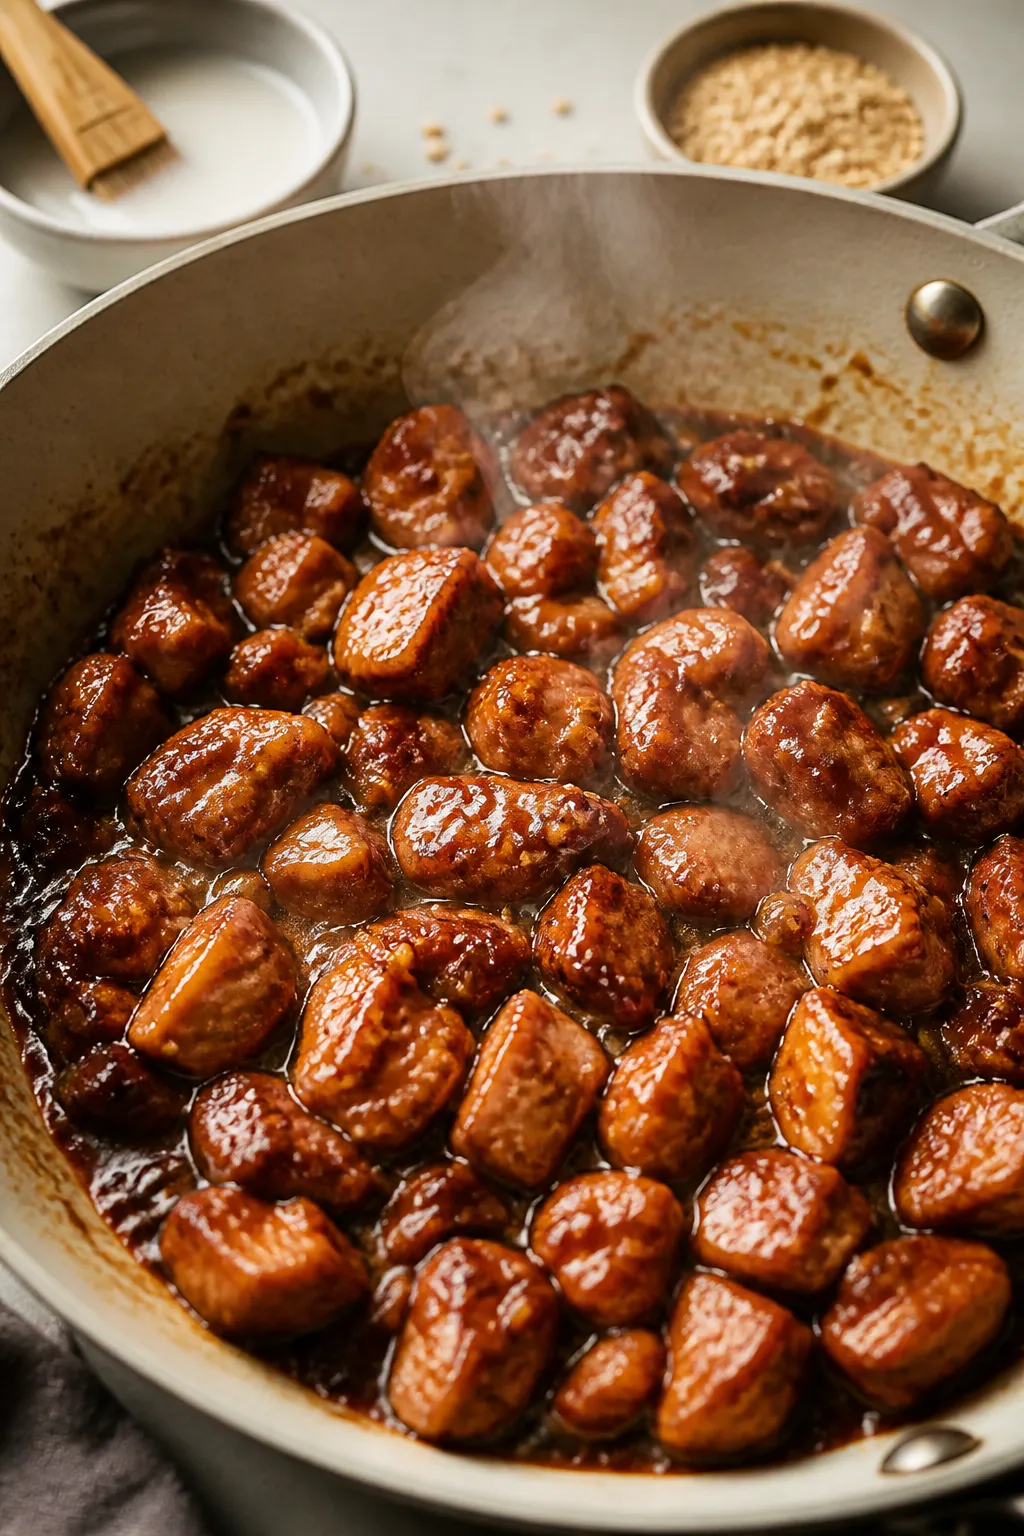
- Make the teriyaki chicken. Heat a little oil in a pan over medium-high.Add diced chicken and cook until just browned. Stir in soy sauce, mirin, sake, sugar, ginger, and garlic. Simmer 2–3 minutes until glossy.
If you like it thicker, add the cornstarch slurry and cook 30 seconds more. Let it cool to warm room temp.
- Season the rice lightly. Sprinkle a pinch of salt over the warm rice and mix gently. This subtle seasoning makes the onigiri taste complete.
- Prep your station. Set out a bowl of water with a bit of salt.Wet and lightly salt your hands to prevent sticking and add flavor. Have nori strips ready.
- Form the base. Take about 1/3 cup of rice and press it into a small disk in your palm. Keep it compact but not crushed.
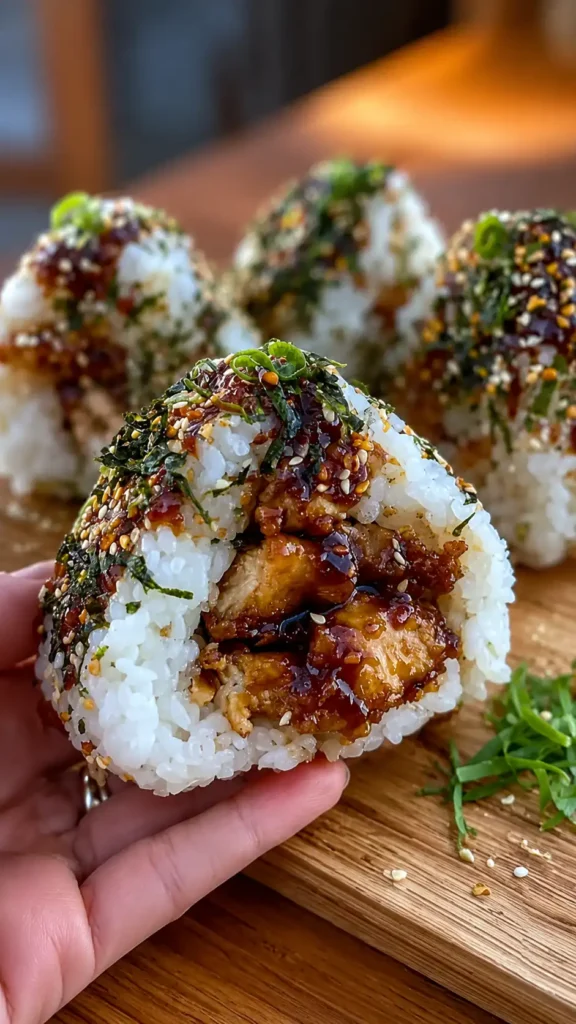
- Add filling. Spoon 1–2 tablespoons of teriyaki chicken into the center.Don’t overfill or it will burst.
- Shape the onigiri. Add another spoonful of rice on top. Cup your hands and gently press into a triangle or oval, turning and pressing to seal the edges. Aim for firm but not smashed.
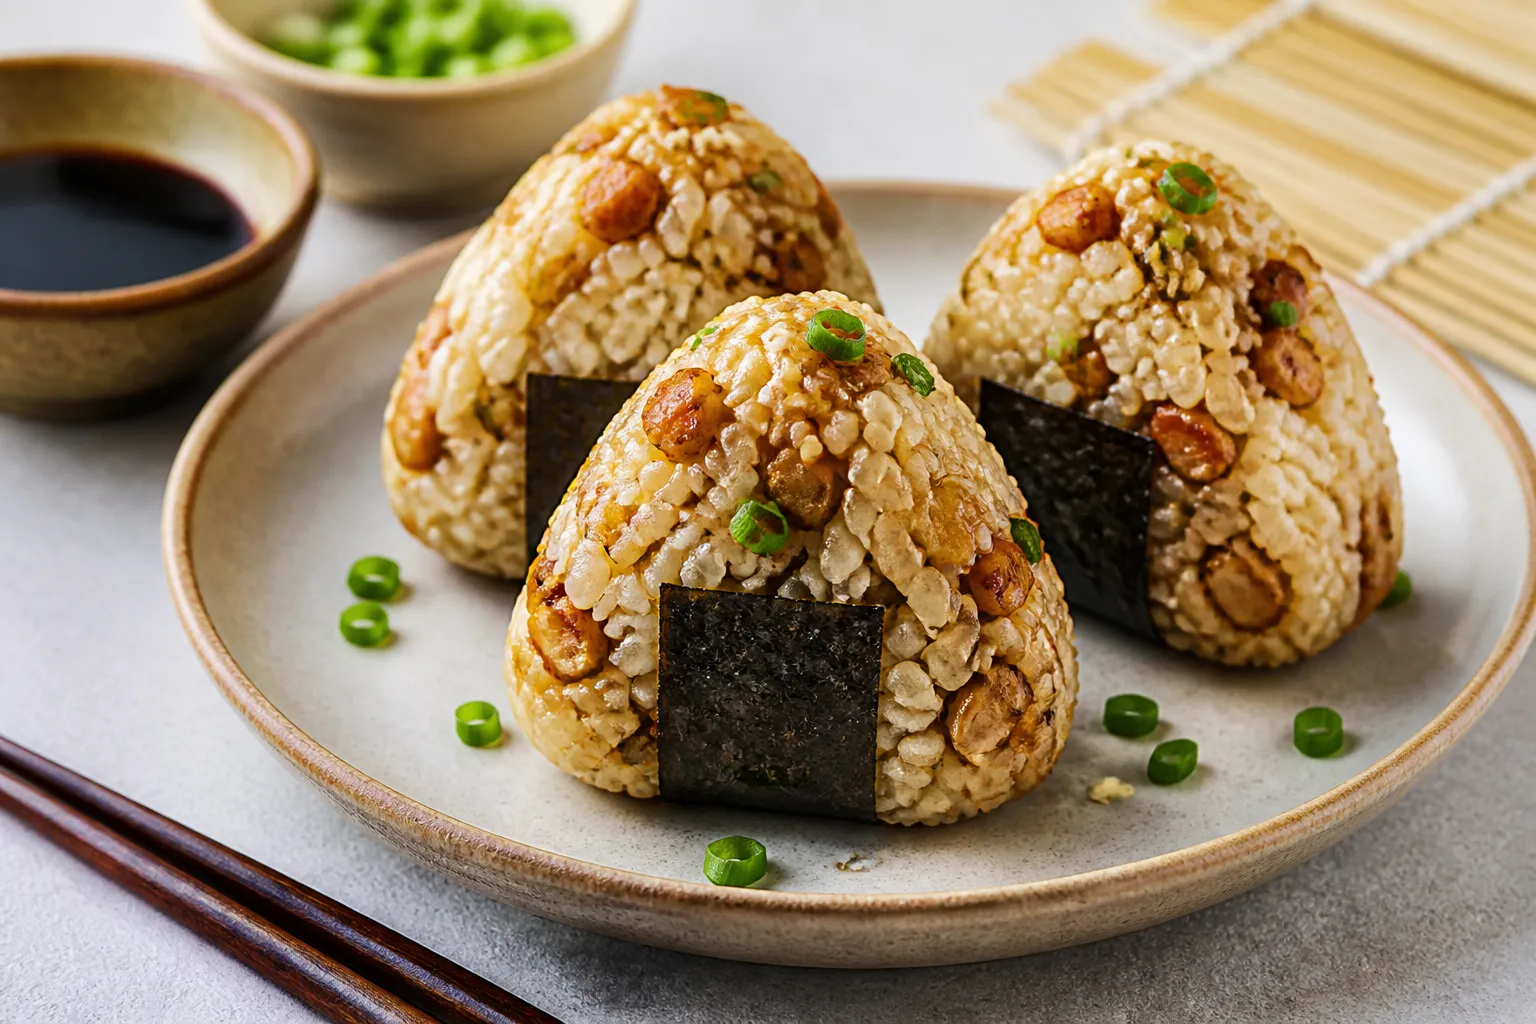
- Wrap with nori. Press a strip of nori around the base or one side.The nori keeps your hands clean and adds flavor and texture.
- Garnish. Sprinkle with toasted sesame seeds if you like. Repeat with the rest of the rice and chicken.
- Serve warm or at room temp. They’re best the day they’re made, but store well (see below).
Storage Instructions
- Short term: Wrap each onigiri tightly in plastic wrap or place in an airtight container. Keep at room temperature up to 4 hours, or refrigerate up to 24 hours.
- Reheating: If refrigerated, the rice will firm up.Lightly sprinkle with water, wrap in a damp paper towel, and microwave 20–30 seconds until just warm.
- Freezing: Wrap individually, then freeze up to 1 month. Reheat from frozen in the microwave with a damp paper towel until heated through.
- Nori note: For the best crunch, add nori just before eating, especially if storing.
Why This is Good for You
Balanced fuel: You get carbs from rice, protein from chicken, and a bit of fat for staying power. It’s a steady, satisfying combo. Portion control: Each rice ball is a defined serving, which helps with mindful eating. Homemade sauce: You control the sodium and sugar, and skip strange additives. Add veggies to the filling if you want extra fiber.
What Not to Do
- Don’t use long-grain rice. It won’t stick well and the onigiri will fall apart.
- Don’t handle with dry hands. Dry hands make rice cling and tear. Lightly wet and salt your hands.
- Don’t overfill. Too much chicken will break the seam and leak.
- Don’t pack rock-hard. Compress gently; overpacking turns the rice dense and unpleasant.
- Don’t add nori too early if storing. It will get soggy in the fridge.
Recipe Variations
- Teriyaki tofu or mushrooms: Swap chicken for firm tofu cubes or sautéed shiitake for a vegetarian option.
- Spicy kick: Stir in a little gochujang, chili crisp, or sriracha to the sauce.
- Mixed-in rice: Fold in chopped scallions, furikake, or finely diced pickles for extra flavor.
- Grilled yaki-onigiri: Brush formed onigiri with a bit of teriyaki and grill or pan-sear until lightly crisp on the outside.
- Brown rice twist: Use short-grain brown rice. It’s heartier and a bit less sticky; shape with slightly wetter hands.
FAQ
Can I use leftover rotisserie chicken?
Yes. Shred it and warm it in the teriyaki sauce so it absorbs flavor. Cook just until saucy and glossy to avoid drying it out.
What if I don’t have mirin?
Use equal parts sake and a bit more sugar, or substitute with a mix of water and a splash of rice vinegar plus sugar. Keep the sweetness balanced, not cloying.
How do I keep the rice from sticking to everything?
Use warm rice, wet and lightly salt your hands, and work quickly. If it still sticks, dip your fingers in water again between onigiri.
Can I make these gluten-free?
Yes. Use a certified gluten-free soy sauce or tamari. Everything else here is naturally gluten-free.
How many onigiri does this make?
With 4 cups of cooked rice and the filling amounts listed, you’ll get about 6–8 onigiri, depending on size.
Wrapping Up
Homemade Teriyaki Chicken Onigiri are simple, budget-friendly, and deeply satisfying. With a sticky, savory center and soft, seasoned rice, they’re perfect for lunchboxes, road trips, or a quick snack. Once you make them once, you’ll have the rhythm down and you can riff endlessly from there. Keep it simple, keep it tasty, and enjoy every bite.
Homemade Teriyaki Chicken Onigiri Rice Balls Made Easy - A Simple, Satisfying Snack
Ingredients
Method
- Cook the rice right. Rinse short-grain rice until the water runs mostly clear. Cook according to package instructions. Rest 10 minutes, then fluff. Keep it warm; slightly warm rice shapes best.
- Make the teriyaki chicken. Heat a little oil in a pan over medium-high. Add diced chicken and cook until just browned. Stir in soy sauce, mirin, sake, sugar, ginger, and garlic. Simmer 2–3 minutes until glossy. If you like it thicker, add the cornstarch slurry and cook 30 seconds more. Let it cool to warm room temp.
- Season the rice lightly. Sprinkle a pinch of salt over the warm rice and mix gently. This subtle seasoning makes the onigiri taste complete.
- Prep your station. Set out a bowl of water with a bit of salt. Wet and lightly salt your hands to prevent sticking and add flavor. Have nori strips ready.
- Form the base. Take about 1/3 cup of rice and press it into a small disk in your palm. Keep it compact but not crushed.
- Add filling. Spoon 1–2 tablespoons of teriyaki chicken into the center. Don’t overfill or it will burst.
- Shape the onigiri. Add another spoonful of rice on top. Cup your hands and gently press into a triangle or oval, turning and pressing to seal the edges. Aim for firm but not smashed.
- Wrap with nori. Press a strip of nori around the base or one side. The nori keeps your hands clean and adds flavor and texture.
- Garnish. Sprinkle with toasted sesame seeds if you like. Repeat with the rest of the rice and chicken.
- Serve warm or at room temp. They’re best the day they’re made, but store well (see below).
Printable Recipe Card
Want just the essential recipe details without scrolling through the article? Get our printable recipe card with just the ingredients and instructions.