Magic Cookie Bars Coconut – Sweet, Chewy, and Foolproof
Sweet, sticky, and loaded with coconut, Magic Cookie Bars Coconut are the kind of dessert that makes everyone smile. They come together fast with simple pantry ingredients, and they bake into gooey, golden perfection. No mixer, no fuss just layers that melt into each other in the oven.
If you love chocolate, coconut, and a buttery crust, this is your new go-to treat for parties, bake sales, or cozy weekends at home.
Why This Recipe Works
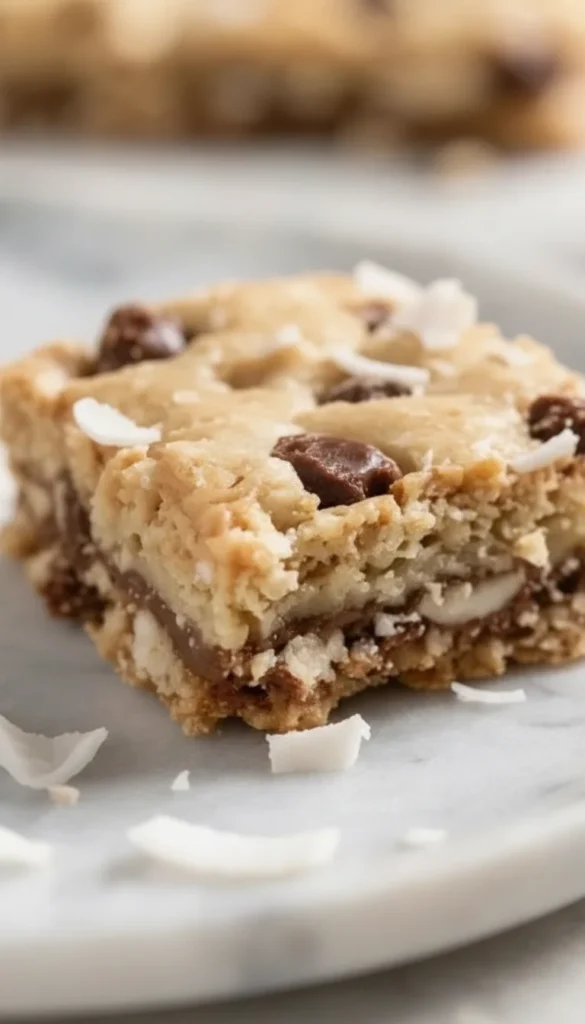
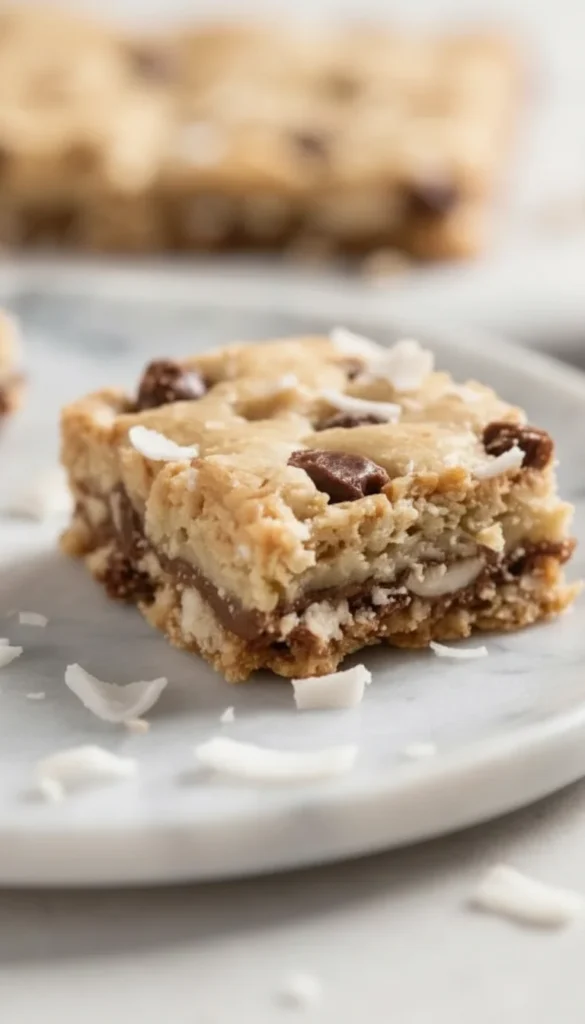
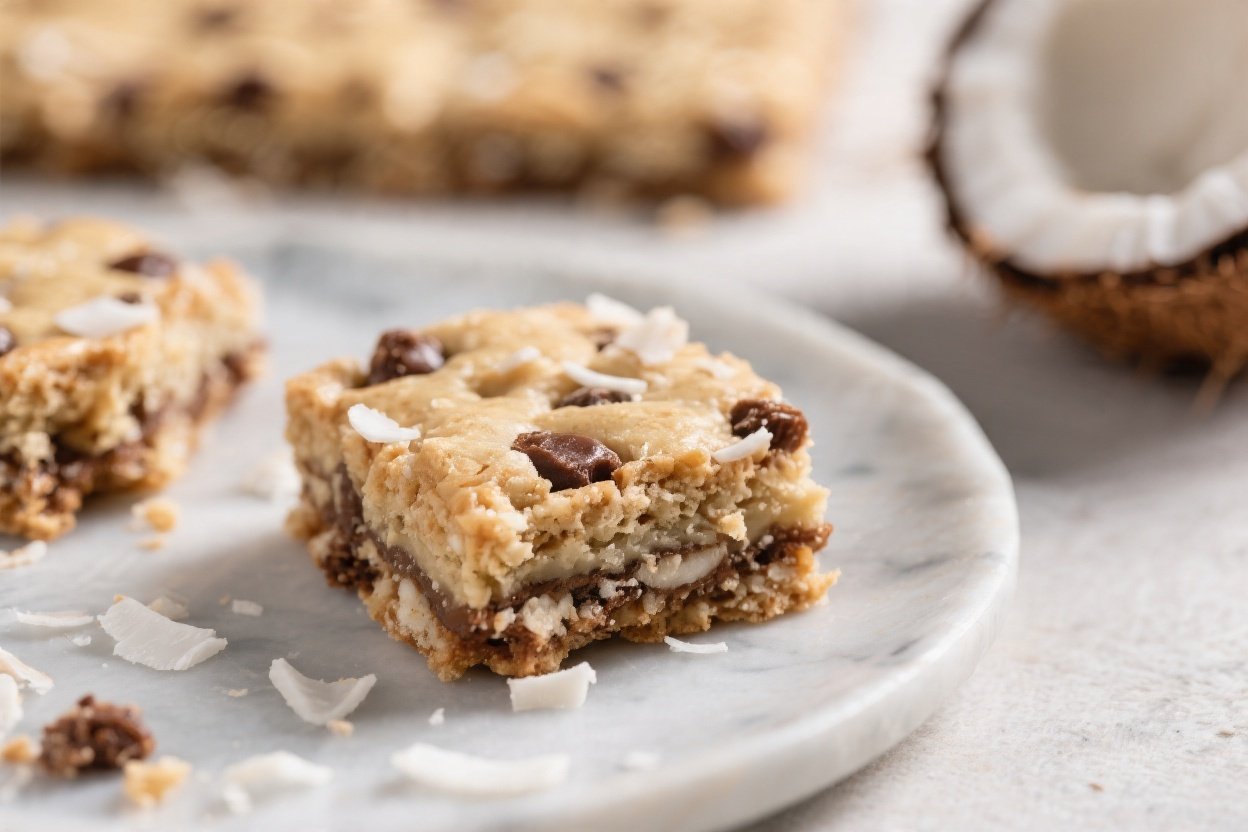
These bars rely on a smart layering technique and the magic of sweetened condensed milk to do the heavy lifting. As the bars bake, the condensed milk binds the coconut, chocolate chips, and nuts into a chewy, cohesive filling. A buttery graham cracker base keeps everything stable and crisp.
The result is a perfect contrast: crunchy bottom, gooey middle, and a toasty top.
Ingredients
- 1/2 cup (1 stick) unsalted butter, melted
- 1 1/2 cups graham cracker crumbs (about 10–12 full sheets)
- 1 can (14 oz) sweetened condensed milk
- 1 1/2 cups sweetened shredded coconut
- 1 cup semi-sweet chocolate chips
- 1/2 cup chopped nuts (walnuts or pecans), optional
- 1/2 cup butterscotch chips, optional for extra sweetness
- Pinch of flaky salt (optional, for balance)
How to Make It
- Prep the pan: Heat the oven to 350°F (175°C). Line a 9×13-inch baking pan with parchment paper, leaving overhang for easy lifting. Lightly grease the sides.
- Make the crust: In a bowl, stir melted butter and graham cracker crumbs until evenly moistened.Press firmly into the bottom of the pan to create a compact, even layer.
- Add condensed milk: Pour the sweetened condensed milk evenly over the crust. Use a spatula to coax it into the corners if needed.
- Layer the toppings:</-strong> Sprinkle chocolate chips evenly, followed by nuts and butterscotch chips if using. Top with the shredded coconut, spreading it to cover the surface.
- Finish with salt: Add a light pinch of flaky salt over the coconut to balance the sweetness.
- Bake:</-strong> Bake for 22–28 minutes, until the edges are golden and the coconut on top is toasted with light brown tips.
- Cool completely: Let the bars cool in the pan on a rack for at least 2 hours.Lift out using the parchment and slice into squares with a sharp knife.
How to Store
- Room temperature: Store in an airtight container for up to 3 days.
- Refrigerator:</-strong> Keep chilled for a firmer, chewier texture for up to 1 week.
- Freezer: Wrap bars individually and freeze for up to 2 months. Thaw at room temperature for 30–45 minutes before serving.
Benefits of This Recipe
- Fast and foolproof: Minimal prep and no mixer required.
- Pantry-friendly: Uses common ingredients you likely have on hand.
- Customizable: Swap chips, add nuts, or play with flavors.
- Crowd-pleaser: A nostalgic treat with a craveable texture.
- Make-ahead friendly: Stores and freezes well without drying out.
Common Mistakes to Avoid
- Not packing the crust: A loose crust will crumble. Press it down firmly, especially at the edges.
- Uneven condensed milk: If it pools, some bites will be dry.Spread it to the corners before adding toppings.
- Overbaking: Too long in the oven makes the crust hard. Pull them when the coconut is golden, not dark brown.
- Cutting too soon: Warm bars fall apart. Cool completely for clean slices.
- Skipping parchment: These bars are sticky.Parchment guarantees an easy release.
Alternatives
- Base swap: Use crushed vanilla wafers, Biscoff cookies, or chocolate wafer crumbs instead of graham crackers.
- Chocolate twist: Try dark chocolate chips, white chocolate, or a mix.
- Nut-free: Skip nuts and add extra chocolate or toasted pumpkin seeds for crunch.
- Tropical vibe: Add dried pineapple bits and macadamia nuts.
- Dairy-free: Use dairy-free sweetened condensed coconut milk and vegan chocolate chips; swap butter with coconut oil.
FAQ
Can I make these gluten-free?
Yes. Use gluten-free graham crackers or a gluten-free cookie crumb base. Everything else is naturally gluten-free, but always check labels to be safe.
Do I need to toast the coconut first?
No. It toasts as the bars bake. If you prefer extra toastiness, lightly toast the coconut in a dry skillet and reduce the bake time by a few minutes to avoid over-browning.
Why are my bars crumbly?
Most likely the crust wasn’t packed tightly or the bars were cut while warm. Press the crust firmly and allow full cooling before slicing.
Can I use evaporated milk instead of sweetened condensed milk?
No. Evaporated milk is not sweet and won’t bind the layers. Sweetened condensed milk is essential for the texture and structure.
How do I get clean slices?
Chill the bars for 30–60 minutes after cooling, then use a sharp knife. Wipe the blade between cuts for neat edges.
Can I reduce the sweetness?
Yes. Use unsweetened shredded coconut, dark chocolate chips, and a pinch more flaky salt. You can also reduce butterscotch chips or skip them.
Wrapping Up
Magic Cookie Bars Coconut are a classic for a reason: they’re easy, adaptable, and incredibly satisfying. With a buttery crust, gooey center, and toasted coconut top, each bite hits the sweet spot. Keep the ingredients on hand, and you’ll always be 30 minutes away from a crowd-pleasing dessert.
Ingredients
Method
- Prep the pan: Heat the oven to 350°F (175°C). Line a 9x13-inch baking pan with parchment paper, leaving overhang for easy lifting. Lightly grease the sides.
- Make the crust: In a bowl, stir melted butter and graham cracker crumbs until evenly moistened. Press firmly into the bottom of the pan to create a compact, even layer.
- Add condensed milk: Pour the sweetened condensed milk evenly over the crust. Use a spatula to coax it into the corners if needed.
- Layer the toppings: Sprinkle chocolate chips evenly, followed by nuts and butterscotch chips if using. Top with the shredded coconut, spreading it to cover the surface.
- Finish with salt: Add a light pinch of flaky salt over the coconut to balance the sweetness.
- Bake: Bake for 22–28 minutes, until the edges are golden and the coconut on top is toasted with light brown tips.
- Cool completely: Let the bars cool in the pan on a rack for at least 2 hours. Lift out using the parchment and slice into squares with a sharp knife.
Printable Recipe Card
Want just the essential recipe details without scrolling through the article? Get our printable recipe card with just the ingredients and instructions.