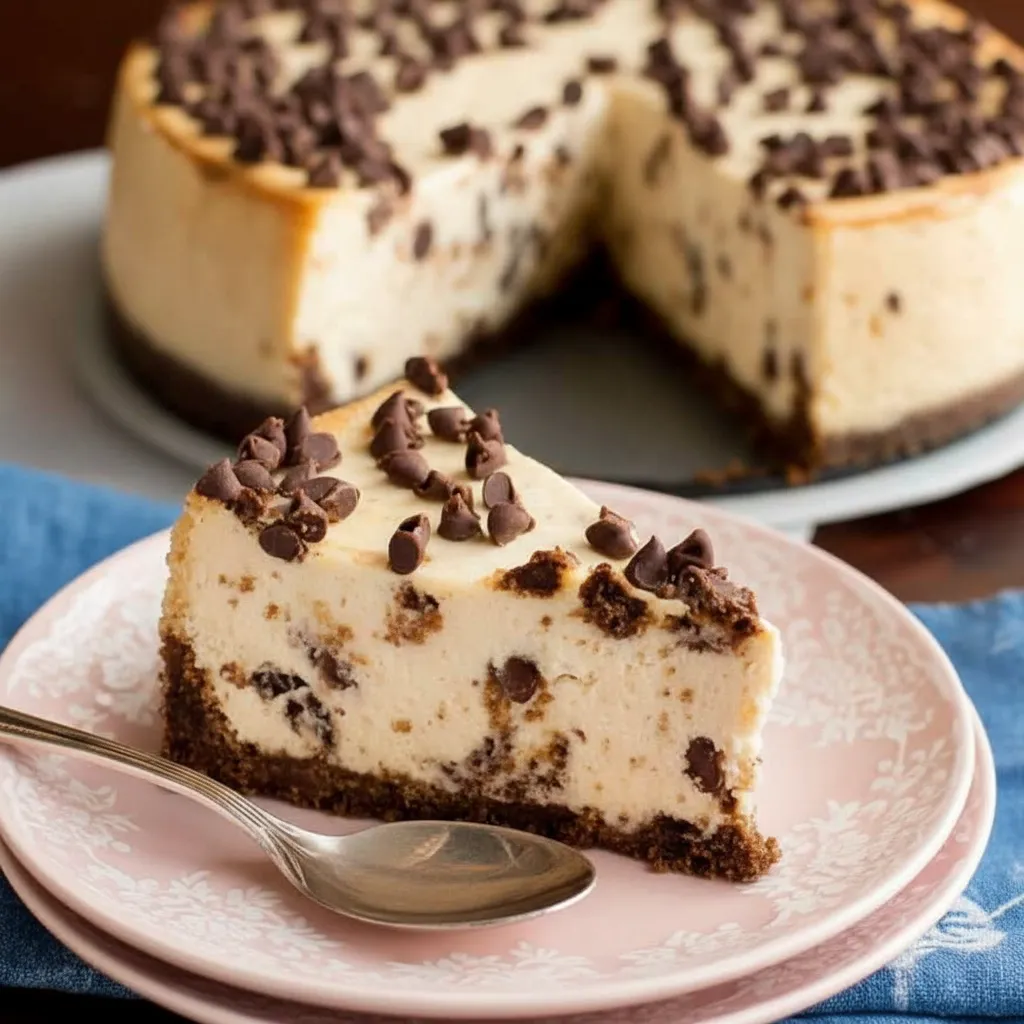
Protein Cheesecake
Last month, I was quietly enjoying a late-night dessert in the kitchen when my teenage daughter walked in and laughed, “Mom, didn’t you say too much sugar makes you grumpy the next day?” I had no defense she caught me red-handed with a second slice. That moment made me realize I needed a dessert that could satisfy my cravings without loading up on sugar. So I began experimenting with a high-protein cheesecake that still tasted like a real treat. After several rounds of testing in my kitchen, I finally created a recipe that delivers around 25 grams of protein per slice while still tasting rich, creamy, and indulgent.
Cheesecake actually dates back to ancient Greece, but the creamy version we know today became famous through New York bakeries in the early 1900s. Traditional cheesecake relies on cream cheese and eggs for richness. In this updated version, however, Greek yogurt and protein powder add extra nutrition while maintaining that dense, velvety texture that makes cheesecake so irresistible.
Ingredients
For the crust
- 1 cup graham cracker crumbs
- 2 tablespoons melted butter
- 1 tablespoon honey or maple syrup
For the cheesecake filling
- 1 cup Greek yogurt (plain, thick style)
- 1 cup low-fat cream cheese, softened
- 1 scoop vanilla protein powder
- 2 eggs
- 1/4 cup honey or sugar-free sweetener
- 1 teaspoon vanilla extract
- 1 tablespoon cornstarch or flour
Optional toppings
- Fresh berries
- Peanut butter drizzle
- Sugar-free chocolate sauce
Step-by-Step Instructions
Step 1: Prepare the crust
Preheat your oven to 325°F (160°C). In a bowl, combine the graham cracker crumbs, melted butter, and honey until the mixture resembles wet sand.
Step 2: Form the base
Press the crumb mixture firmly into the bottom of a lined or greased springform pan. Use the back of a spoon or measuring cup to flatten it evenly.
Step 3: Pre-bake the crust
Place the crust in the oven and bake for 8–10 minutes until lightly golden. Remove it from the oven and allow it to cool while preparing the filling.
Step 4: Mix the cheesecake filling
In a large bowl, add Greek yogurt, softened cream cheese, protein powder, eggs, honey, vanilla extract, and cornstarch. Blend everything until the mixture becomes smooth and creamy.
Step 5: Pour into the crust
Pour the cheesecake filling over the cooled crust and gently tap the pan on the counter to remove air bubbles.
Step 6: Bake the cheesecake
Bake in the preheated oven for 35–40 minutes until the edges are set but the center still has a slight jiggle.
Step 7: Cool gradually
Turn off the oven and leave the cheesecake inside with the door slightly open for about 20 minutes. This helps prevent cracks.
Step 8: Chill before serving
Transfer the cheesecake to the refrigerator and chill for at least 6 hours or overnight for the best texture.
Step 9: Slice and enjoy
Once fully chilled, slice the cheesecake with a warm knife and serve with your favorite toppings.
Why You’ll Love This Protein Cheesecake
I’ve made this protein cheesecake for my family many times, and honestly, nobody can tell it’s the healthier version. The Greek yogurt creates a luxuriously creamy texture that tastes just like a bakery dessert. Meanwhile, the added protein keeps you feeling satisfied much longer than traditional sugary treats. Another reason I love this recipe is how adaptable it is. You can easily turn it into a keto, gluten-free, or even vegan variation with a few simple swaps. The filling comes together in under a minute, making it perfect for busy evenings when you still want something special. Pro tip: I almost always prepare a double batch because it disappears quickly in my house, and knowing each slice is packed with protein makes going back for another piece completely guilt-free.
Storage & Serving Tips
Store your protein cheesecake covered in the refrigerator for up to four days, though it rarely lasts that long in my home. For the best texture, allow it to chill for at least six hours before slicing and serving. This helps the cheesecake firm up and cut cleanly. Pro tip: run your knife under warm water and wipe it dry between slices for neat, professional-looking pieces. This cheesecake also freezes beautifully and can be stored for up to four months. I usually slice it first and wrap individual portions so they’re easy to grab whenever a dessert craving strikes. When ready to eat, simply let a frozen slice thaw in the refrigerator for about an hour. There are endless flavor variations, but my family’s favorite is peanut butter cheesecake finished with a drizzle of sugar-free chocolate sauce.
Conclusion
This protein cheesecake proves that a healthier dessert doesn’t have to feel like a compromise. Each slice provides about 25 grams of protein while still delivering the rich, creamy taste of a classic New York cheesecake. It has quickly become our favorite dessert for everything from casual weekend treats to small celebrations. Once you try it, you’ll see that enjoying dessert while staying mindful of nutrition is absolutely possible.
Printable Recipe Card
Want just the essential recipe details without scrolling through the article? Get our printable recipe card with just the ingredients and instructions.