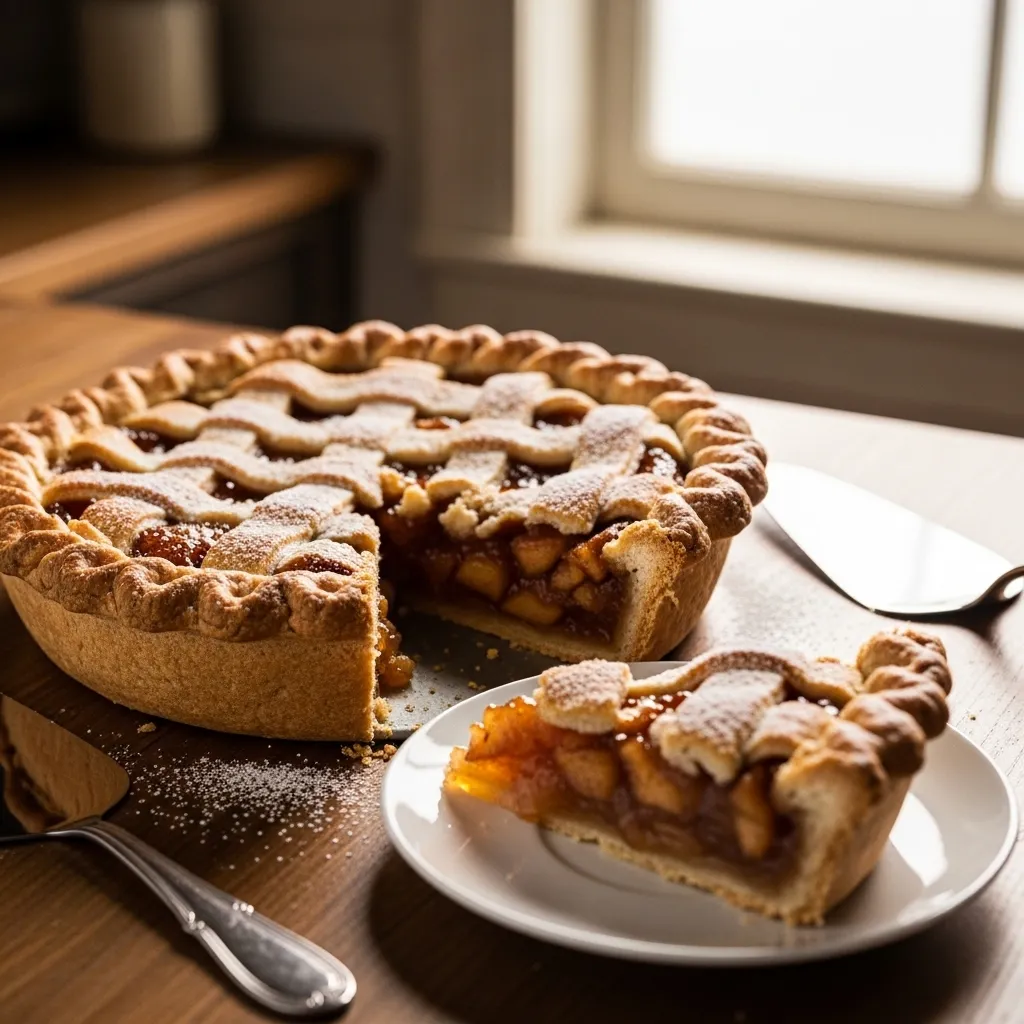
Classic Apple Pie with Flaky Crust
So… You Wanna Make an Apple Pie? Alright, let’s cut to the chase. You’re craving that warm, cinnamony, buttery goodness that makes your kitchen smell like heaven, but also kinda scared because “pie crust is scary.” Relax. I’ve got you. This Classic Apple Pie with Flaky Crust is your new best friend. It’s basically foolproof, smells like magic, and tastes like you hired a professional baker… without actually hiring anyone.
Yes, you. With your slightly questionable chopping skills and your tendency to forget the oven exists sometimes. This pie is your moment.
Why This Recipe is Awesome
- It’s idiot-proof. Seriously. I’ve made this more times than I can count, and even my dog could probably help without messing it up.
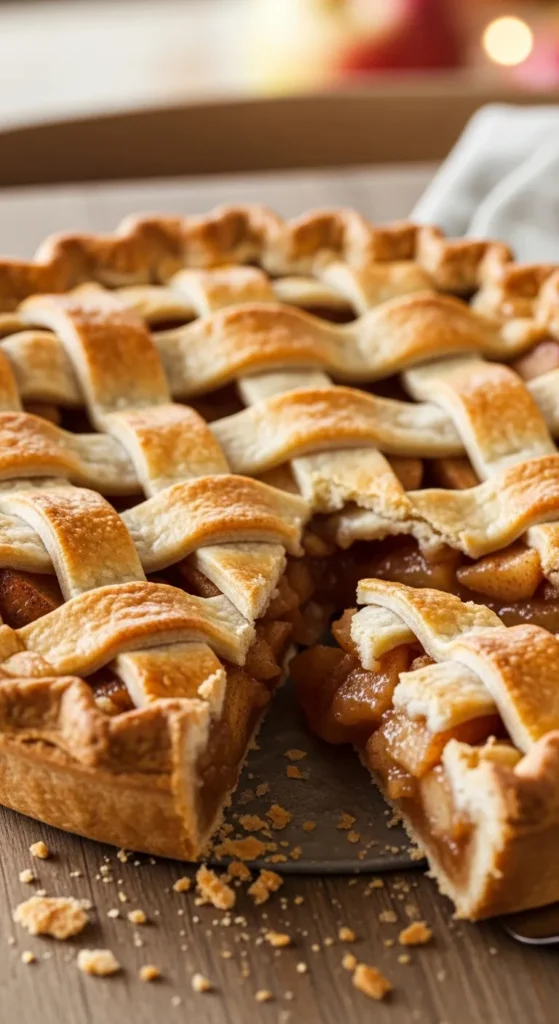
- Flaky crust that actually flakes. None of that sad, hard “crusty cardboard” nonsense. Your friends (or your cat) will be impressed.
- Sweet, tart, and perfectly spiced filling. Not too sweet, not too blah. Just… chef’s kiss.
- Bragging rights. You can casually drop “Oh yeah, I made this myself” at dinner, and no one will question it.
Basically, it’s classic, it’s comforting, and it’s basically a hug in dessert form. Need I say more?
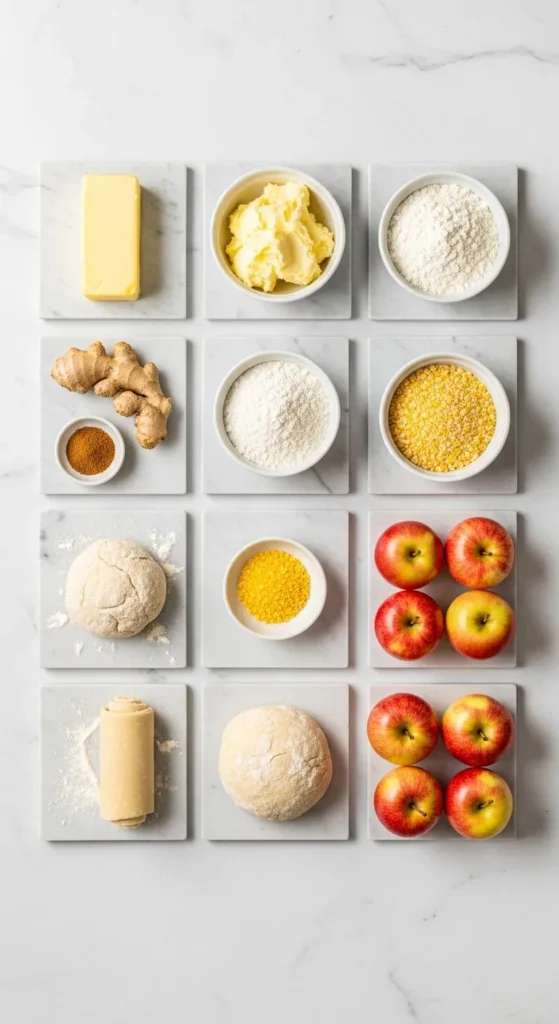
Ingredients You’ll Need
Here’s the rundown. Nothing fancy, nothing weird, just stuff you can grab at the store without consulting a wizard.
For the crust:
- 2 ½ cups all-purpose flour (the magic powder of baking)
- 1 tsp salt
- 1 tsp sugar (optional, but hey, life is sweeter with it)
- 1 cup unsalted butter, cold and cubed (do not melt, do not soften, don’t even think about it)
- 6–8 tbsp ice water (yes, ice. Pie is serious business)
For the filling:
- 6–7 medium apples, peeled, cored, and sliced (Granny Smith + Honeycrisp combo = dream team)
- ¾ cup granulated sugar
- ¼ cup brown sugar (because brown sugar makes everything better)
- 1 tsp ground cinnamon
- ¼ tsp ground nutmeg (optional, but fancy)
- 1 tsp lemon juice (keeps the apples happy and prevents browning)
- 2 tbsp all-purpose flour (to thicken that juicy apple goodness)
- 1 tbsp unsalted butter, cut into tiny chunks
Optional for extra flair:
- 1 egg, beaten (for egg wash, makes crust golden AF)
- 1 tbsp sugar for sprinkling on top
Step-by-Step Instructions
Okay, pay attention. These are short, sweet, and do-able—even if your kitchen looks like a tornado hit it.
- Prep the crust. Mix flour, salt, and sugar in a big bowl. Cut in cold butter until it looks like coarse crumbs. Sprinkle ice water a little at a time until it holds together. Split into 2 disks, wrap, and chill for at least 30 min. Netflix time, maybe?
- Preheat the oven. Yep, do it now 425°F (220°C). Don’t be that person waiting until everything’s ready to panic-start the oven.
- Make the filling. Toss apples with sugars, cinnamon, nutmeg, lemon juice, and flour. Let it sit for 5–10 minutes while your dough chills. The apples will get all cozy and flavorful.
- Roll out the bottom crust. Lightly flour your surface, roll one disk into a circle big enough for your pie dish. Ease it in don’t worry about perfect edges, rustic is cute.
- Add the filling. Dump the apple mixture into the crust, then dot with little butter chunks. Yes, butter belongs on top of apples. Always.
- Top crust time. Roll out the second disk and place over apples. Crimp the edges, cut a few slits for venting. Brush with egg wash and sprinkle sugar if you’re feeling fancy.
- Bake. 20 minutes at 425°F (220°C), then reduce to 350°F (175°C) and bake another 40–45 min. Keep an eye out for golden, bubbly perfection.
- Cool. Let pie rest for at least 2 hours. I know it’s hard, but slicing too early = juicy mess. Patience, young grasshopper.
Common Mistakes to Avoid
- Skipping the chill. Cold butter + cold dough = flaky crust. Warm dough = sad crust.
- Overfilling. Don’t try to pack the apples like sardines. Your crust will revolt.
- Not venting. Those slits aren’t decoration they’re for steam. Trust me.
- Baking too hot or too low. 425°F first, then 350°F. Don’t improvise.
- Slicing too early. I get it you’re excited. But you’ll thank me later.
Alternatives & Substitutions
- Butter? Margarine technically works, but don’t kid yourself—it’s not as flaky or tasty.
- Flour in filling? Cornstarch is an okay swap if you prefer a glossy filling.
- Spices? Play with ginger or cloves if you’re feeling adventurous. I mean, it’s your pie, do you.
- Crust shortcuts? Store-bought dough works. Yes, I judge a little, but I won’t stop you.
- Apple mix-ups? Any firm apple works. Fuji, Gala, Pink Lady go wild.
FAQ (Frequently Asked Questions)
Q: Can I make this pie ahead of time?
A: Totally. Keep it wrapped at room temp for a day, or refrigerate for up to 2–3 days.
Q: Can I freeze it?
A: Heck yes. Bake it, cool completely, wrap tightly. Reheat at 350°F for 15–20 min. Boom.
Q: Can I skip the egg wash?
A: Sure, but your crust won’t have that beautiful golden sheen. Meh, up to you.
Q: Can I use a different fruit?
A: Absolutely. Pears, peaches, berries—just remember juicy = thickener, FYI.
Q: Can I double the recipe?
A: Yes, but you’ll need two pies or one giant, scary pie. Both options work.
Q: Do I have to peel the apples?
A: Technically no, but your filling will be smoother and way more classic if you do.
Final Thoughts
And there you have it a Classic Apple Pie with Flaky Crust that’s basically guaranteed to impress. Seriously, if you can chop apples and roll dough, you’re already halfway to pie greatness.
Remember: baking is meant to be fun, messy, and occasionally a little rebellious. So don’t sweat the small stuff. Chill the crust, vent the pie, wait for it to cool, and enjoy every sweet, cinnamony bite. Now go impress someone or yourself with your new culinary skills. You’ve earned it!
Printable Recipe Card
Want just the essential recipe details without scrolling through the article? Get our printable recipe card with just the ingredients and instructions.