Protein Chocolate Bars Healthy No Bake
So You Want Chocolate, Protein, and Zero Baking? So you’re craving something chocolatey, a little healthy-ish, and you absolutely do not want to turn on the oven. Same. Welcome to the magical world of protein chocolate bars that are healthy, no-bake, and dangerously easy. These bars are basically proof that you can have dessert and still feel like a responsible adult. Shocking, I know.
Grab a bowl, cancel your plans for the next 20 minutes, and let’s make something that tastes like a cheat meal but behaves like a gym buddy.
Why This Recipe Is Awesome
First of all, no baking. That alone deserves a round of applause. Second, these bars are packed with protein, which means you can eat chocolate and still say, “This is for my macros.” Powerful energy.
They’re:
- Idiot-proof (I tested this personally)
- Made with real ingredients, not mystery lab powders
- Perfect for meal prep, late-night cravings, or “I skipped lunch again” emergencies
Also, they’re endlessly customizable. Don’t like something? Swap it. Love something? Add more. This recipe doesn’t judge you. IMO, that’s the best kind of recipe.
Ingredients You’ll Need

Nothing fancy here. If you’ve ever owned a blender bottle or pretended to be healthy on a Monday, you probably have most of this already.
- Protein powder (½–¾ cup)
Chocolate works best, but vanilla + cocoa also slaps. Whey or plant-based your call. - Natural peanut butter (½ cup)
Or almond butter. Or cashew butter. Basically any nut butter that isn’t full of sugar nonsense. - Rolled oats (¾ cup)
Old-fashioned oats only. Instant oats turn this into sad mush. - Honey or maple syrup (¼ cup)
Pick your sweetener fighter. - Cocoa powder (2–3 tbsp)
Unsweetened. This is where the chocolate flavor actually comes from. - Coconut oil (2 tbsp, melted)
Helps everything firm up nicely. Science, but tasty. - Milk of choice (2–4 tbsp)
Almond, oat, dairy whatever lives in your fridge. - Optional add-ins
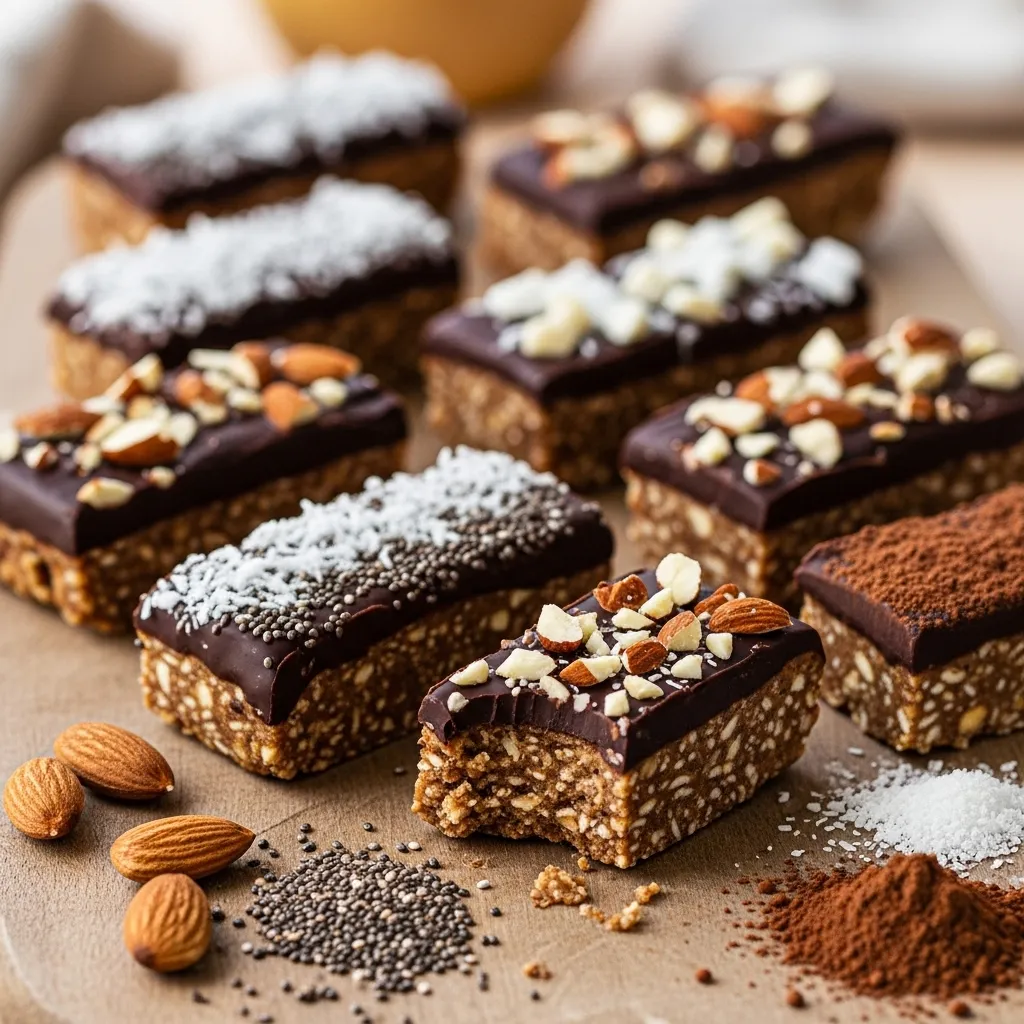
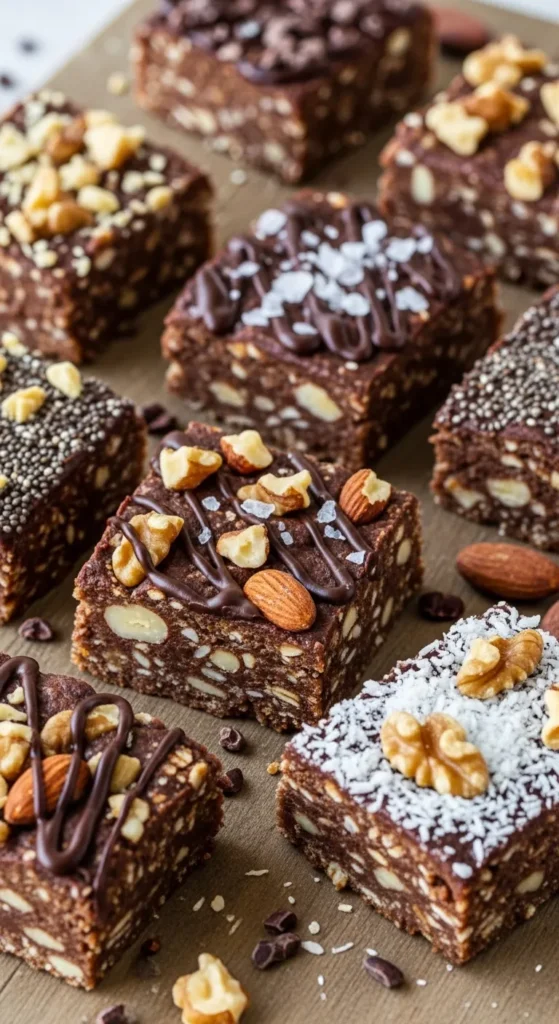
Dark chocolate chips, chopped nuts, shredded coconut, or a pinch of salt (highly recommended).
Step-by-Step Instructions
- Grab a mixing bowl and dump in the dry stuff.
Add oats, protein powder, and cocoa powder. Stir it up so no weird cocoa clumps ambush you later. - Add the sticky things.
Scoop in peanut butter, pour in honey or maple syrup, and drizzle the melted coconut oil. This will look messy. That’s normal. - Mix like you mean it.
Use a sturdy spoon or spatula. If your arm isn’t slightly tired, you’re not doing it right. - Adjust the texture.
Slowly add milk, one tablespoon at a time, until the mixture is thick but pressable. Think cookie dough, not soup. - Fold in the fun extras.
Chocolate chips? Yes. Nuts? Sure. A pinch of salt? Absolutely do not skip this. - Press it into a lined pan.
Use parchment paper and really press it down. Flat bars = better bars. - Chill out (literally).
Pop the pan in the fridge for at least 1–2 hours until firm. - Slice and pretend you’ll only eat one.
Cut into bars, admire your work, then immediately eat one standing over the counter.
Common Mistakes to Avoid
- Using cheap protein powder.
If it tastes bad in a shake, it’ll taste bad here too. Don’t sabotage yourself. - Adding too much liquid too fast.
Suddenly you’ve made protein pudding. Still edible, but not the goal. - Skipping the chill time.
Warm bars fall apart and break hearts. Be patient. - Not lining the pan.
Enjoy chiseling bars out like an archaeologist? No? Then use parchment paper. - Forgetting salt.
Chocolate without salt is like a joke without a punchline.
Alternatives & Substitutions
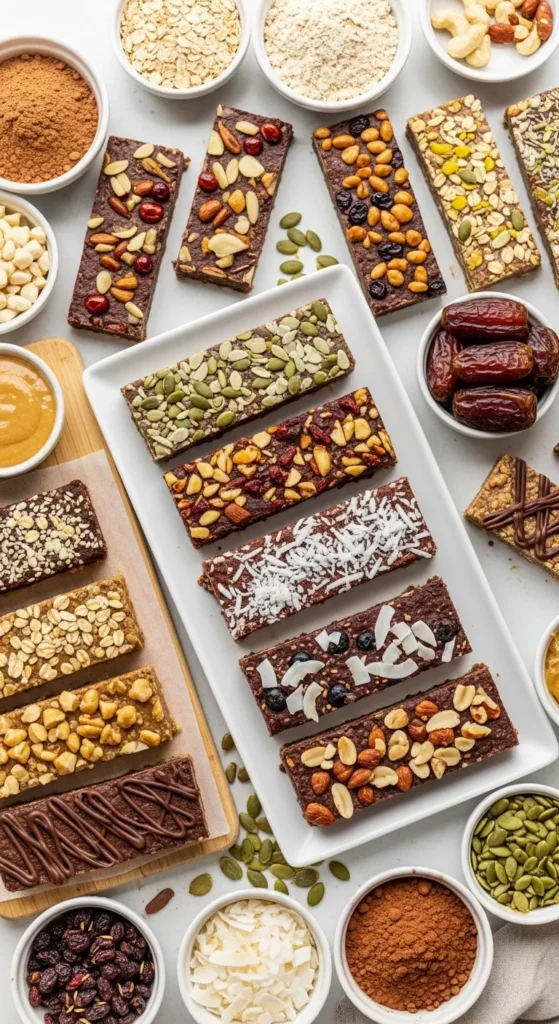
Don’t have everything? No stress. This recipe is flexible and emotionally supportive.
- No oats?
Use oat flour, crushed rice cakes, or even puffed quinoa for crunch. - Nut-free situation?
Sunflower seed butter works great and still tastes legit. - Want it vegan?
Use plant-based protein and maple syrup. Done. - Lower sugar?
Reduce honey and add a few drops of stevia or monk fruit. Just don’t go wild nobody likes fake-sweet overload. - Extra protein boost?
Toss in hemp seeds or chia seeds. Suddenly these bars are trying very hard.
FAQ (Frequently Asked Questions)
Do these actually taste good, or are they “healthy good”?
They taste actually good. Like, “why did I ever buy protein bars?” good.
How long do they last?
In the fridge, about 7 days. In the freezer, up to 2 months if you can resist them that long.
Can I skip the coconut oil?
You can, but the bars will be softer. Still tasty, just more spoon-friendly.
Are these good for pre-workout or post-workout?
Yes. Pre, post, mid, or “I forgot to eat again.” They’re versatile like that.
Can I make them crunchy?
Absolutely. Add chopped nuts, cacao nibs, or crispy rice cereal.
Do I need a food processor?
Nope. Just a bowl and determination.
Can I double the recipe?
You should. Trust me.
Final Thoughts
These healthy no-bake protein chocolate bars are everything we want in life: easy, chocolatey, and low-effort. They don’t require fancy skills, weird tools, or a personality change. Just mix, chill, and snack like the functional adult you are pretending to be.
Make a batch, stash them in the fridge, and enjoy having a go-to treat that feels indulgent but secretly has your back. Now go impress someone or just yourself with your snack-making genius. You’ve earned it.
Printable Recipe Card
Want just the essential recipe details without scrolling through the article? Get our printable recipe card with just the ingredients and instructions.